Shipmate macOS Application Help Guide
Introduction
The Shipmate macOS Application allows you to quickly and easily integrate your label printer with Shipmate. This companion app works in the background and has a number of useful features to help you get the most out of Shipmate and easily print labels in a fast-paced despatch environment. This help guide explains how to configure the app and use each of its features.
System Requirements
Minimum requirements:
- Apple Mac computer running macOS 10.13 (High Sierra) or later
- Label Printer with 4x6" thermal labels or Inkjet/Laser Printer and A4 Label Stationery
- Internet Connection
- Shipmate account
Optional requirements:
- Barcode scanner for Scan and Print functionality
Installation
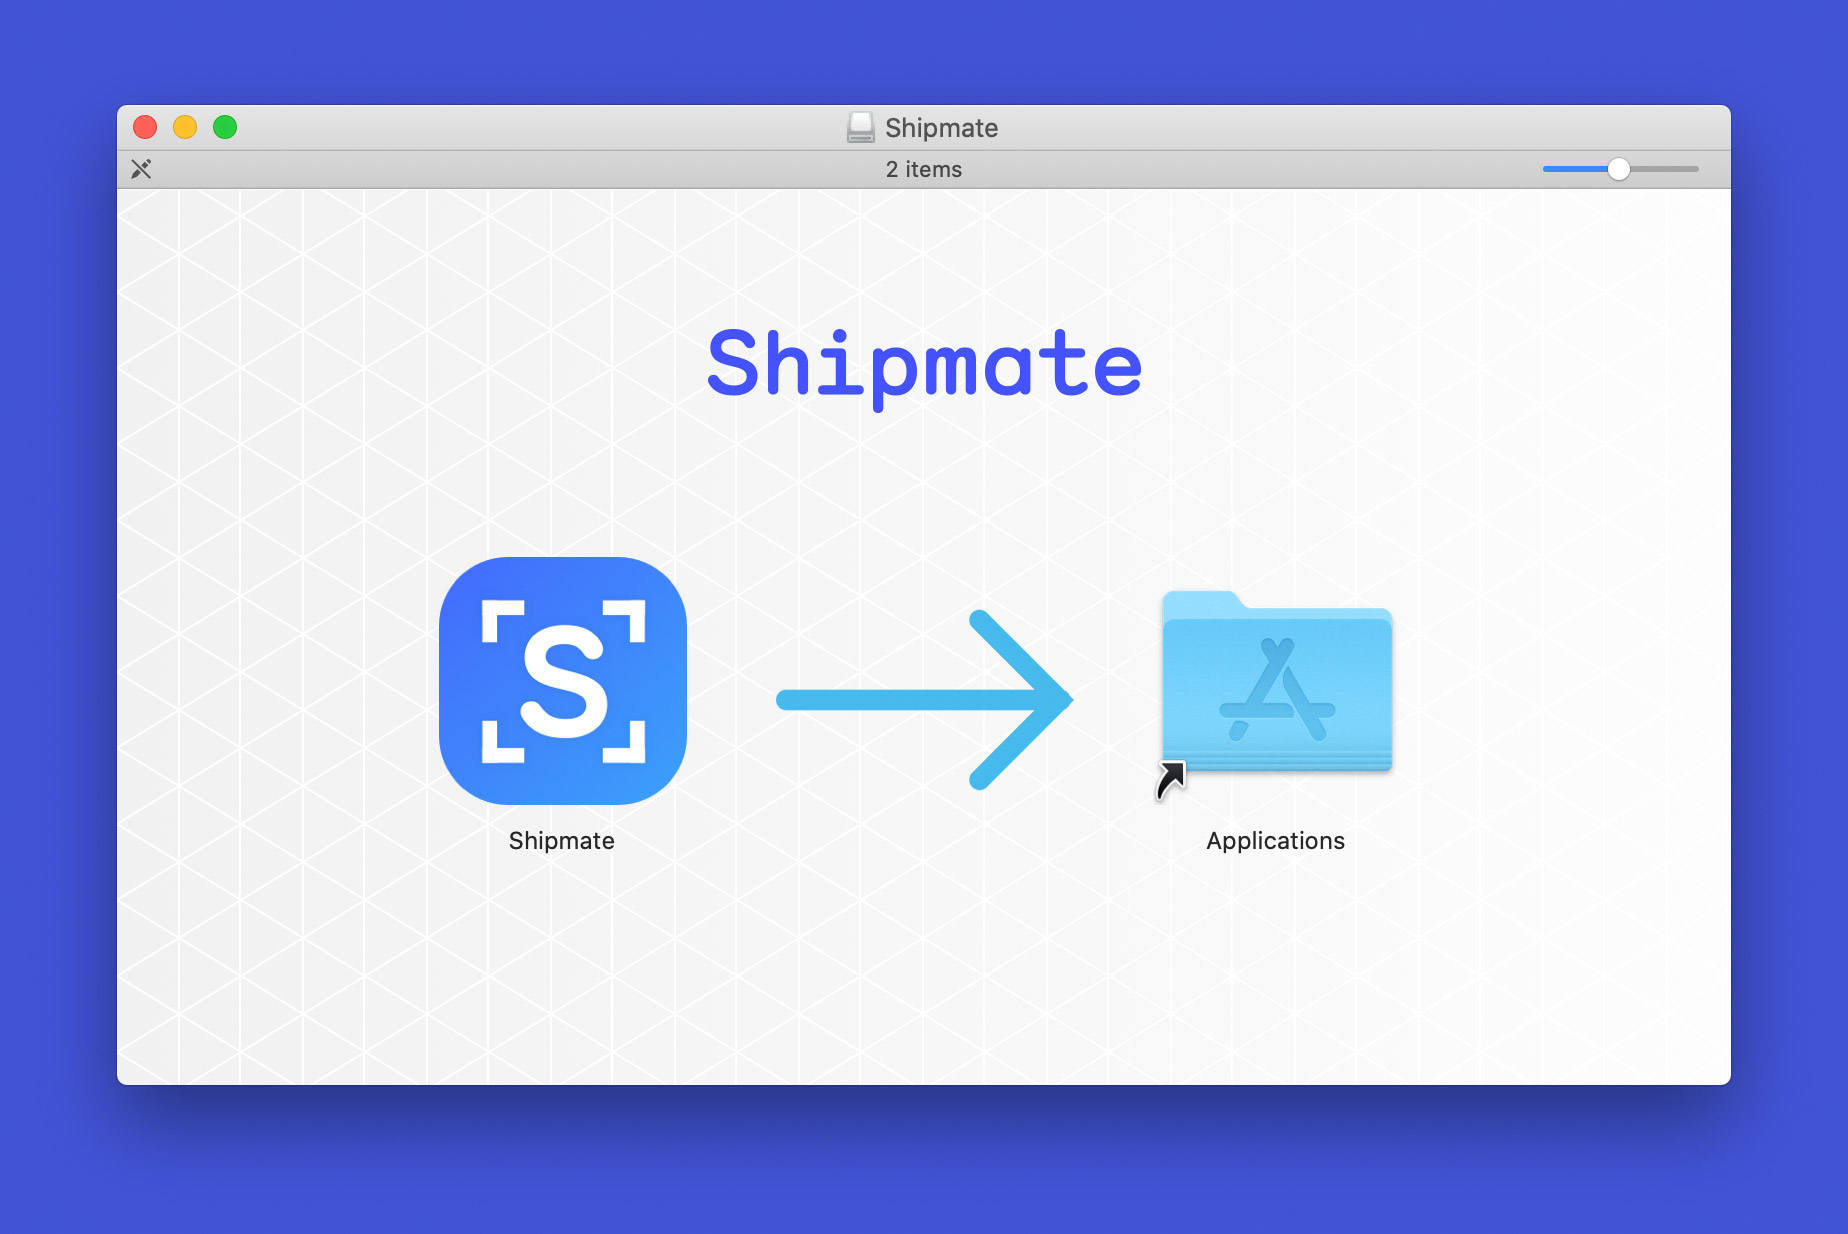
You can download the Shipmate macOS Application directly from our website. To install the Shipmate macOS Application, open the Disk Image and drag the Shipmate app into your Applications directory.
To launch the Shipmate macOS Application, double-click the Shipmate icon within the Applications directory, or single-click on the icon from Launchpad. Shipmate will then automatically start each time you start up your Mac.
Logging In
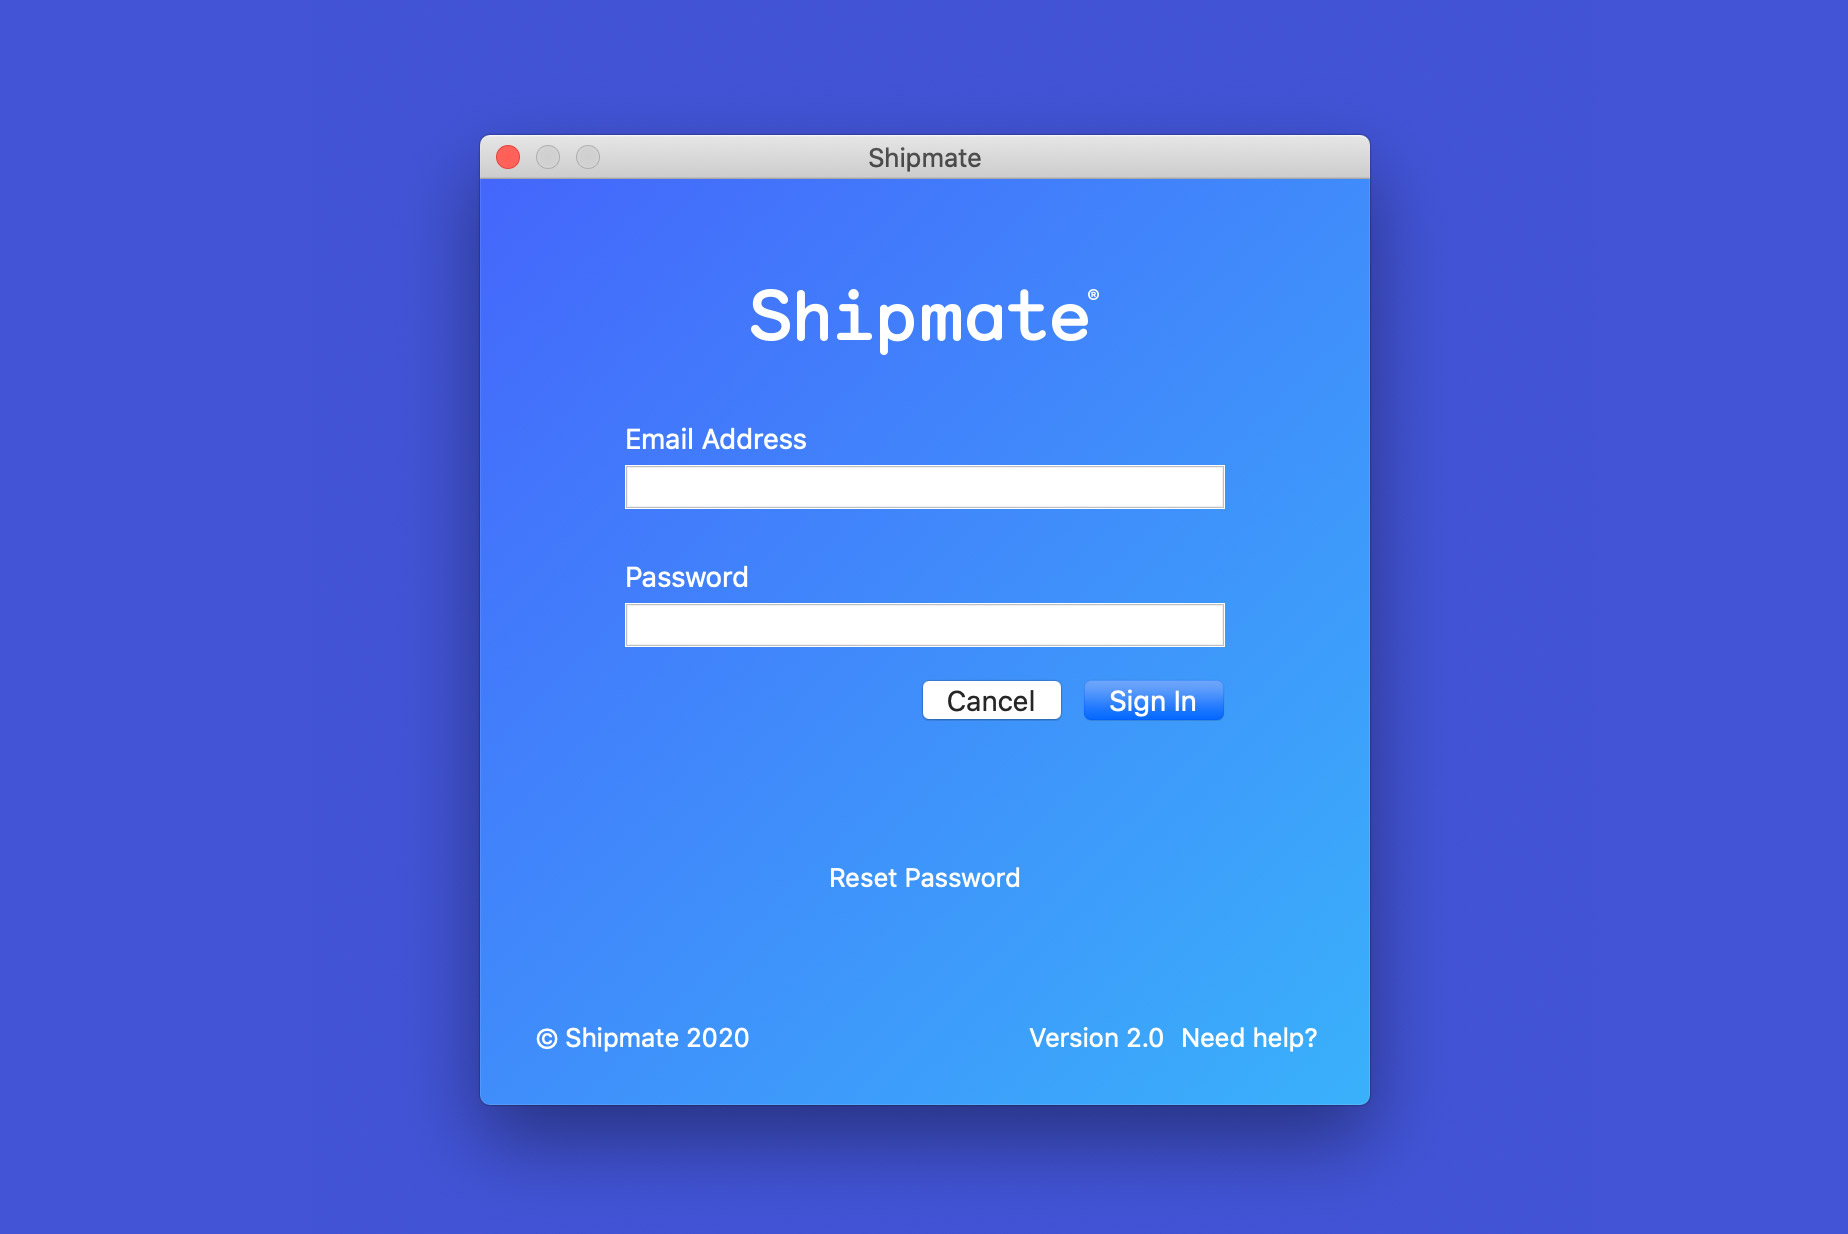
To use the Shipmate macOS app you simply log in with your Shipmate account. This is the same username and password you use to access the Shipmate web portal.
If you have forgotten your password, click the Reset password link and you will be taken to a web page where you can reset it.
Getting Around the App
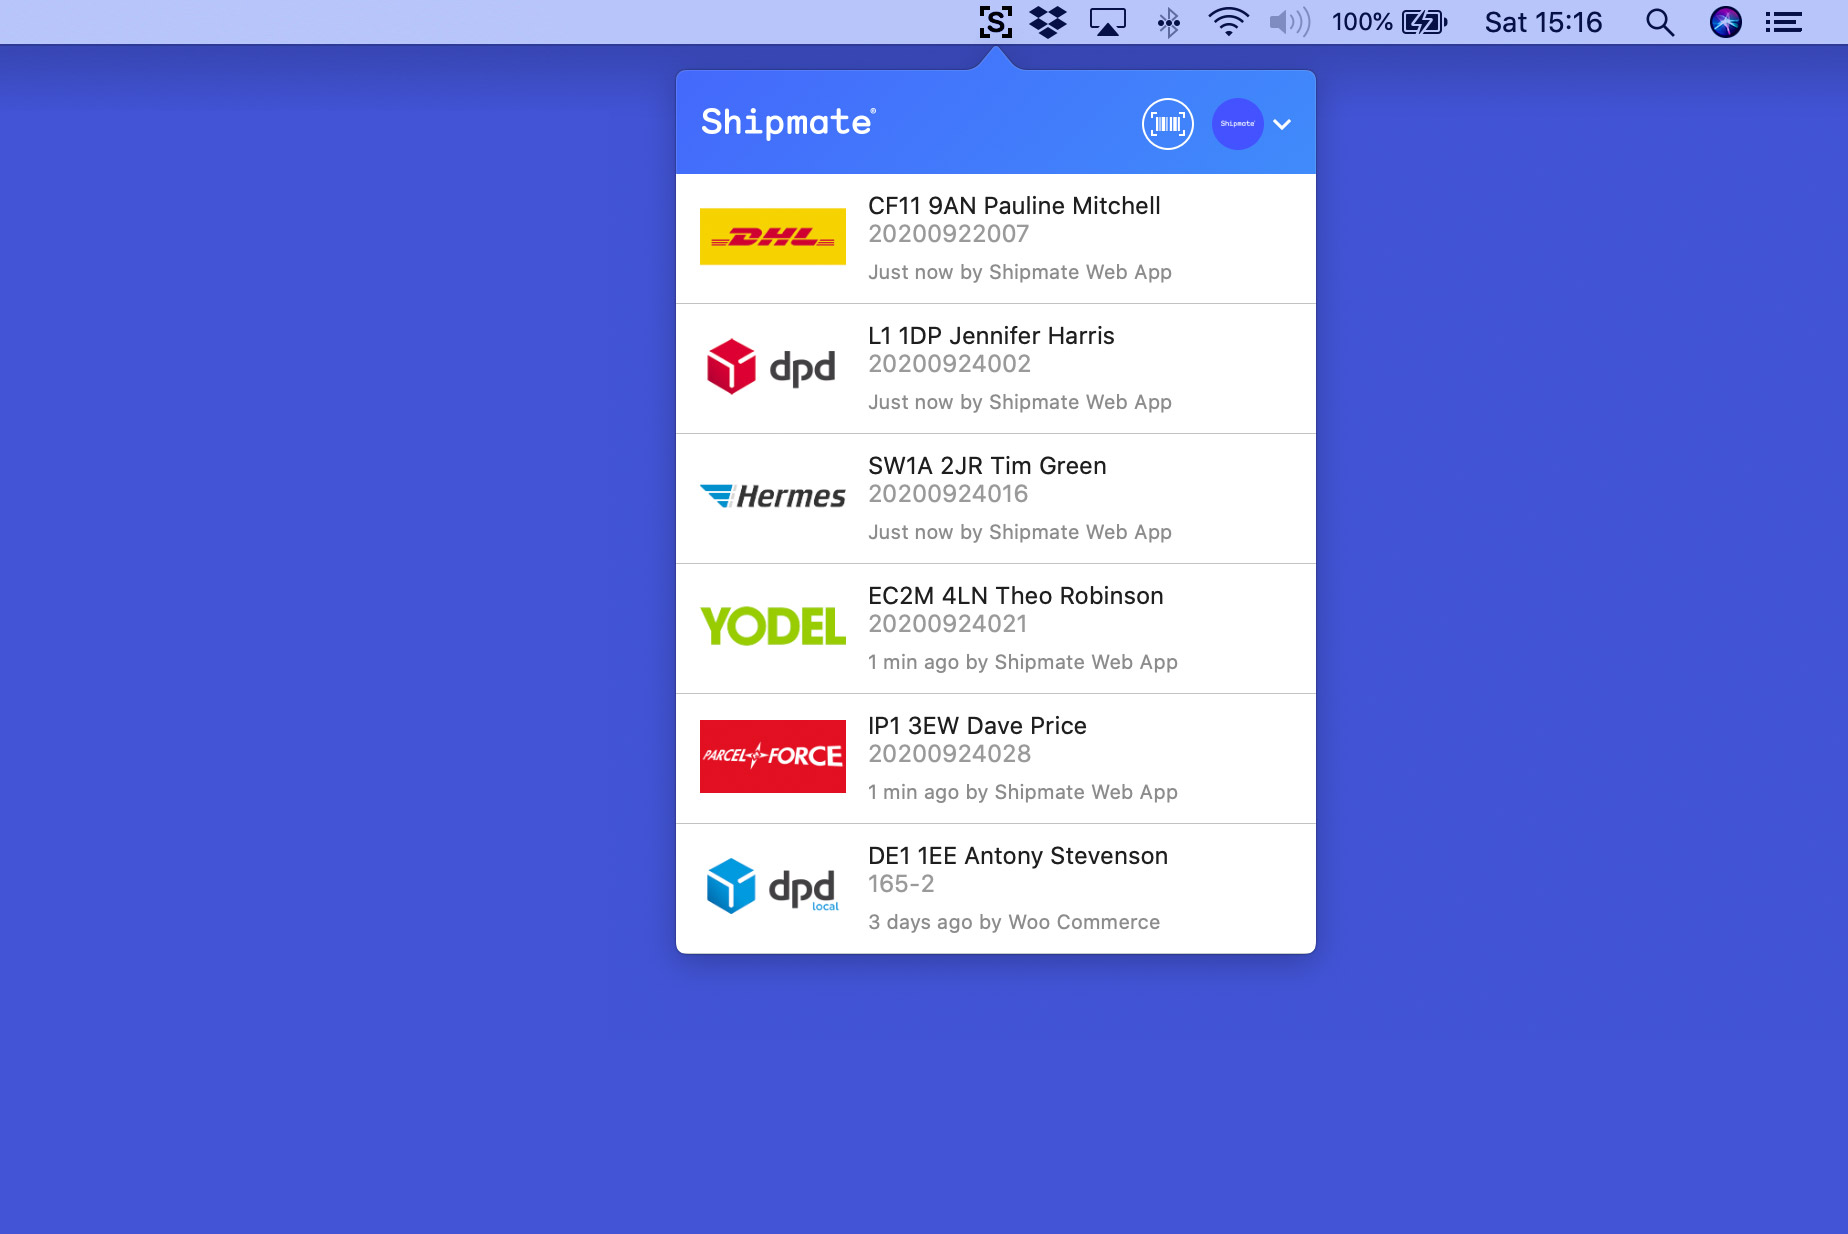
The Shipmate app has been designed to run in the background and stay out of your way in processing your orders for the vast majority of the time, meaning you can process your delivery labels inside the software you normally use to process orders. The Shipmate app has two key aspects: the Status Bar Icon and the Preferences screen.
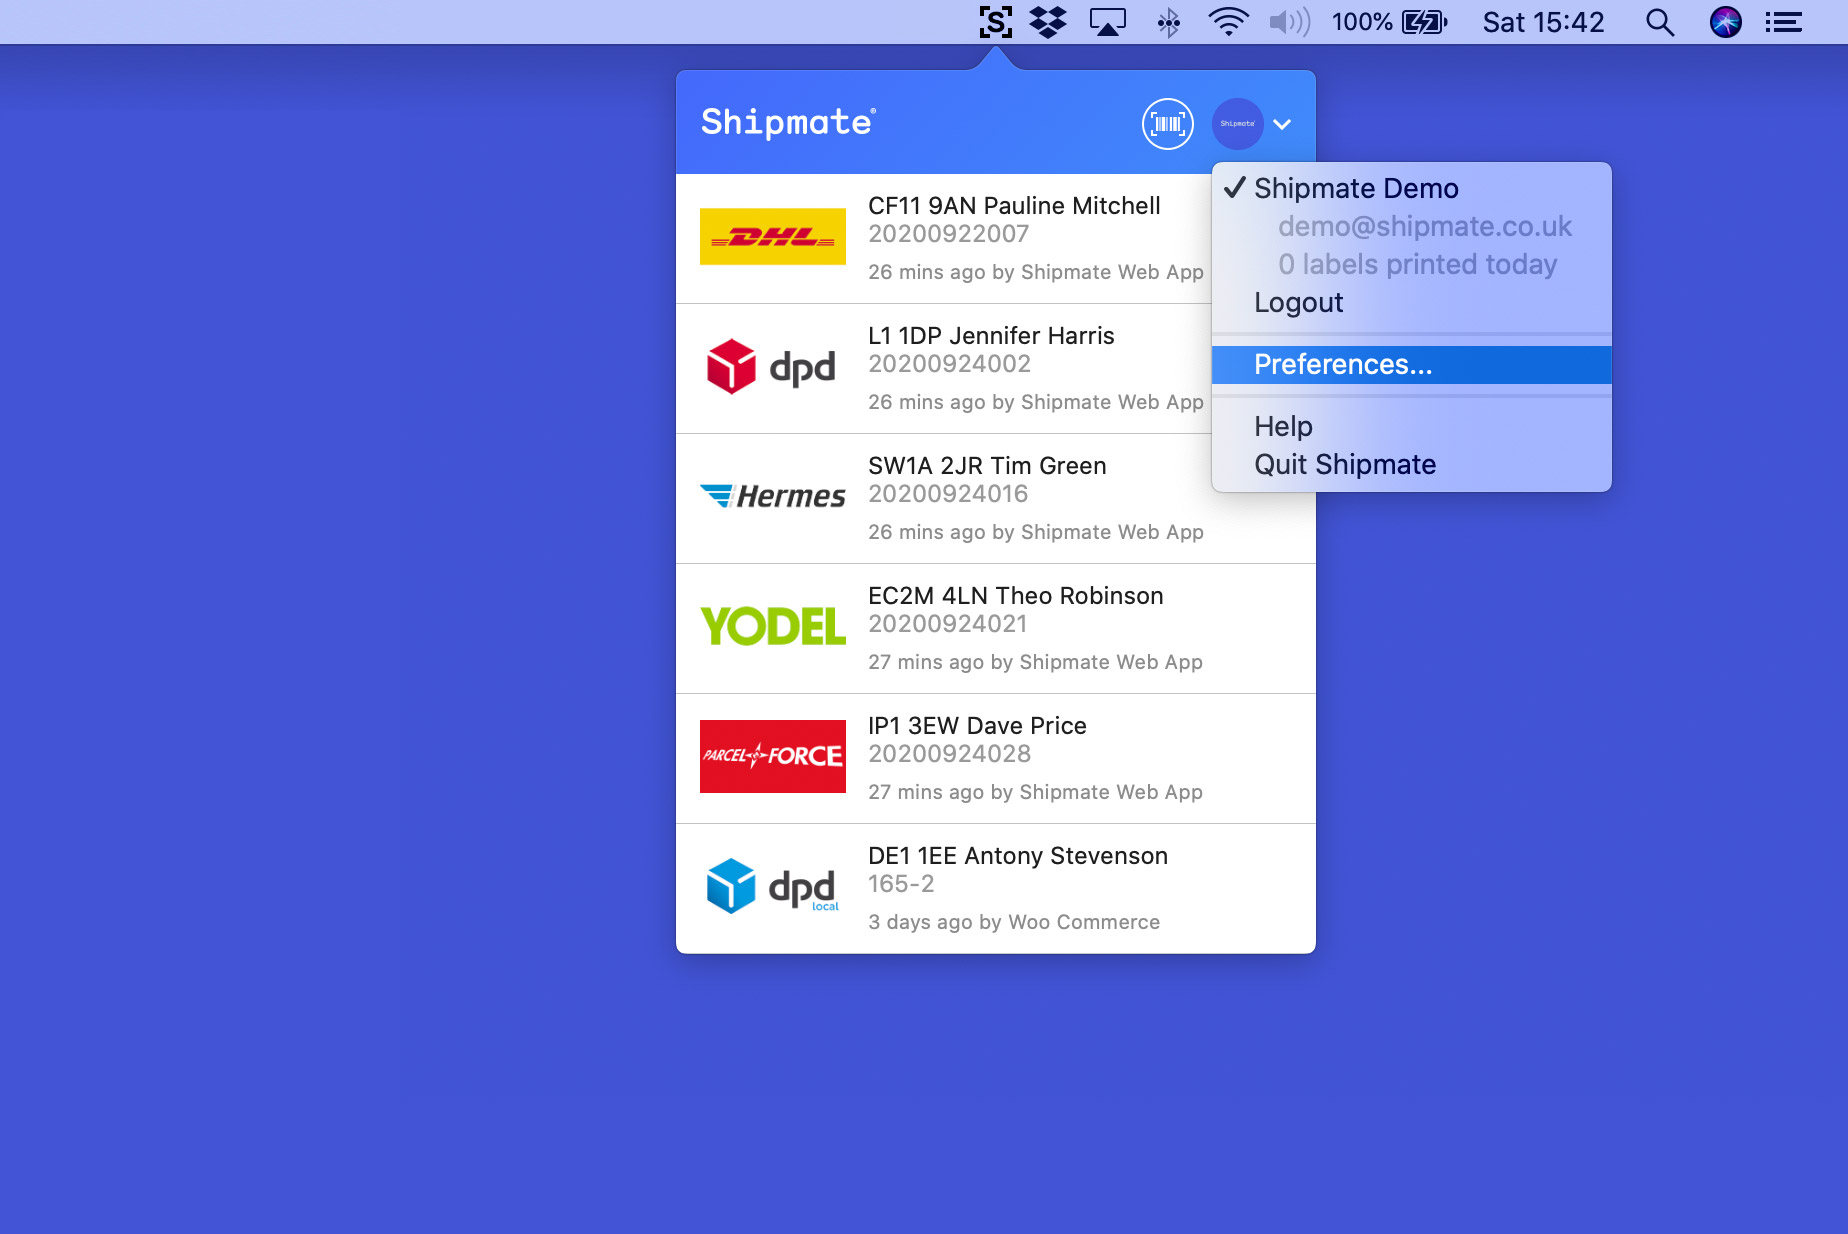
Whenever you need to access the Shipmate app, simply click the “S” Status Bar Icon to view the menu, which will show relevant options for you to use.
Configuration
Configure a Thermal Label Printer
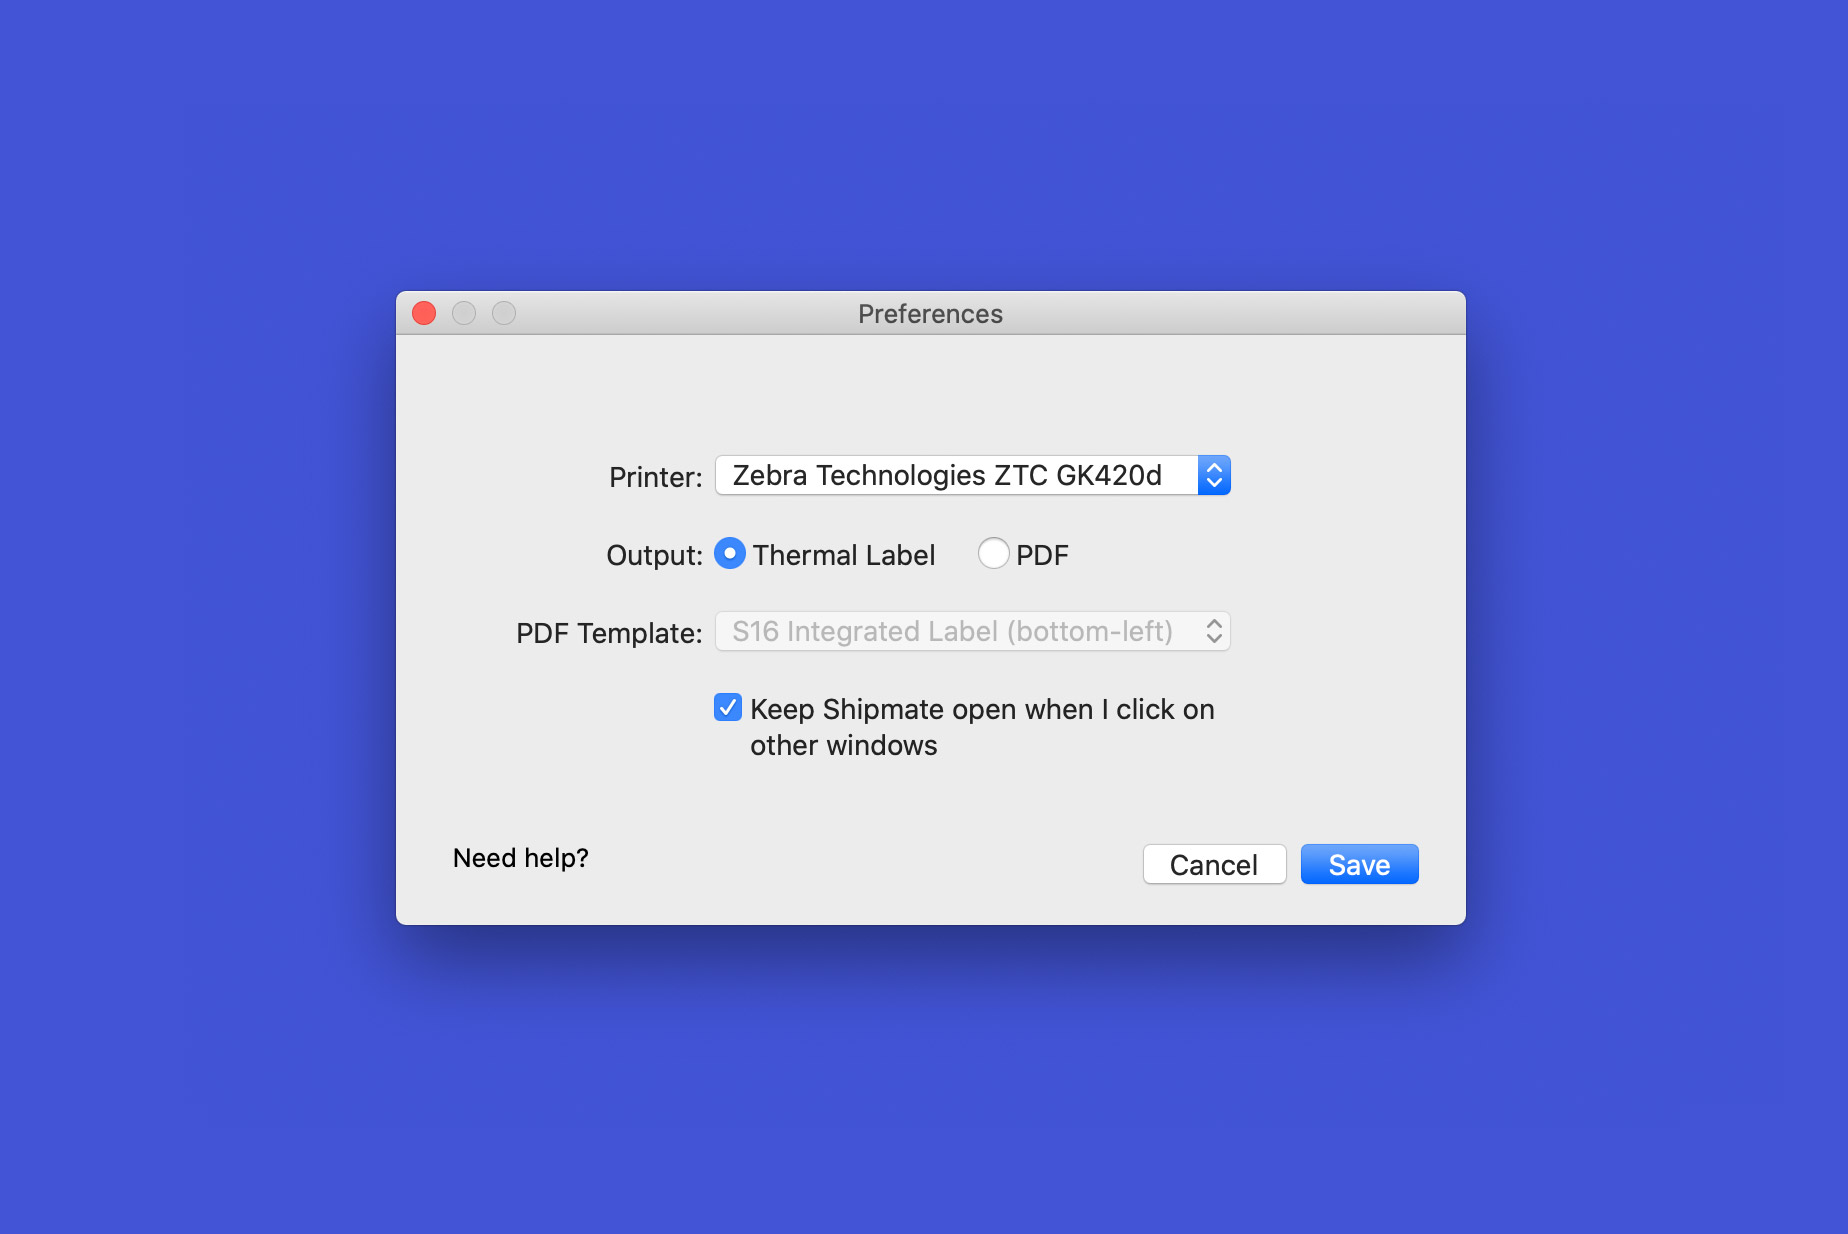
To configure a ZPL-II compatible printer, such as the Zebra GK420d, ZD220, ZD420 or Citizen CL-S521, first choose the printer from the list of available printers on your computer, then select the Thermal Label print format option.
Once you are satisfied with your selections, click the Save button to save your choices and close the Preferences window. Shipmate is now ready to print labels directly on your Mac.
Configure Shipmate To Print PDF Labels
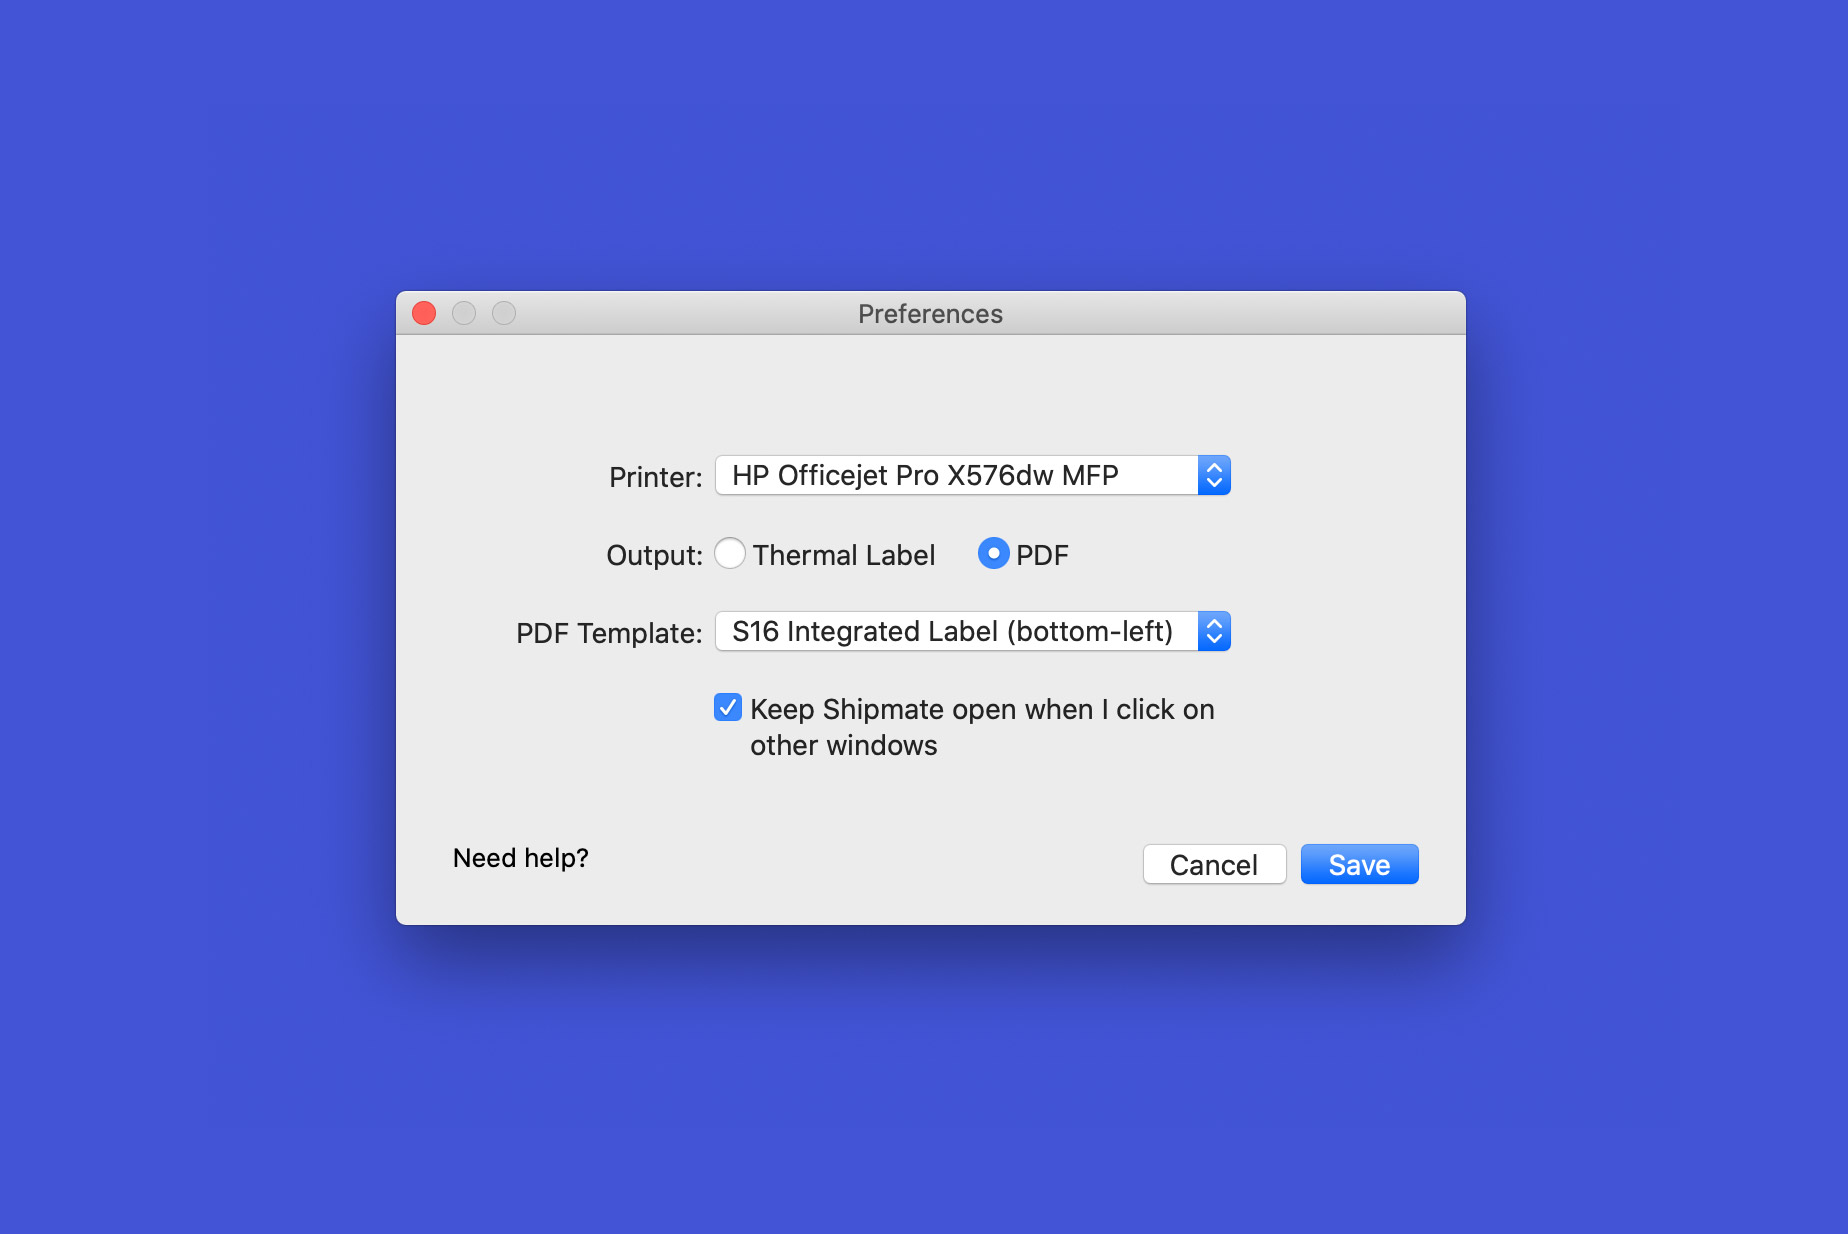
If you use a laser or inkjet printer, or your printer does not natively support ZPL II, or you are using a 300dpi label printer, you can configure Shipmate to print labels in PDF format - the most popular document format. First choose the printer you wish to use from the list of available printers on your computer, then select the “PDF” print format option.
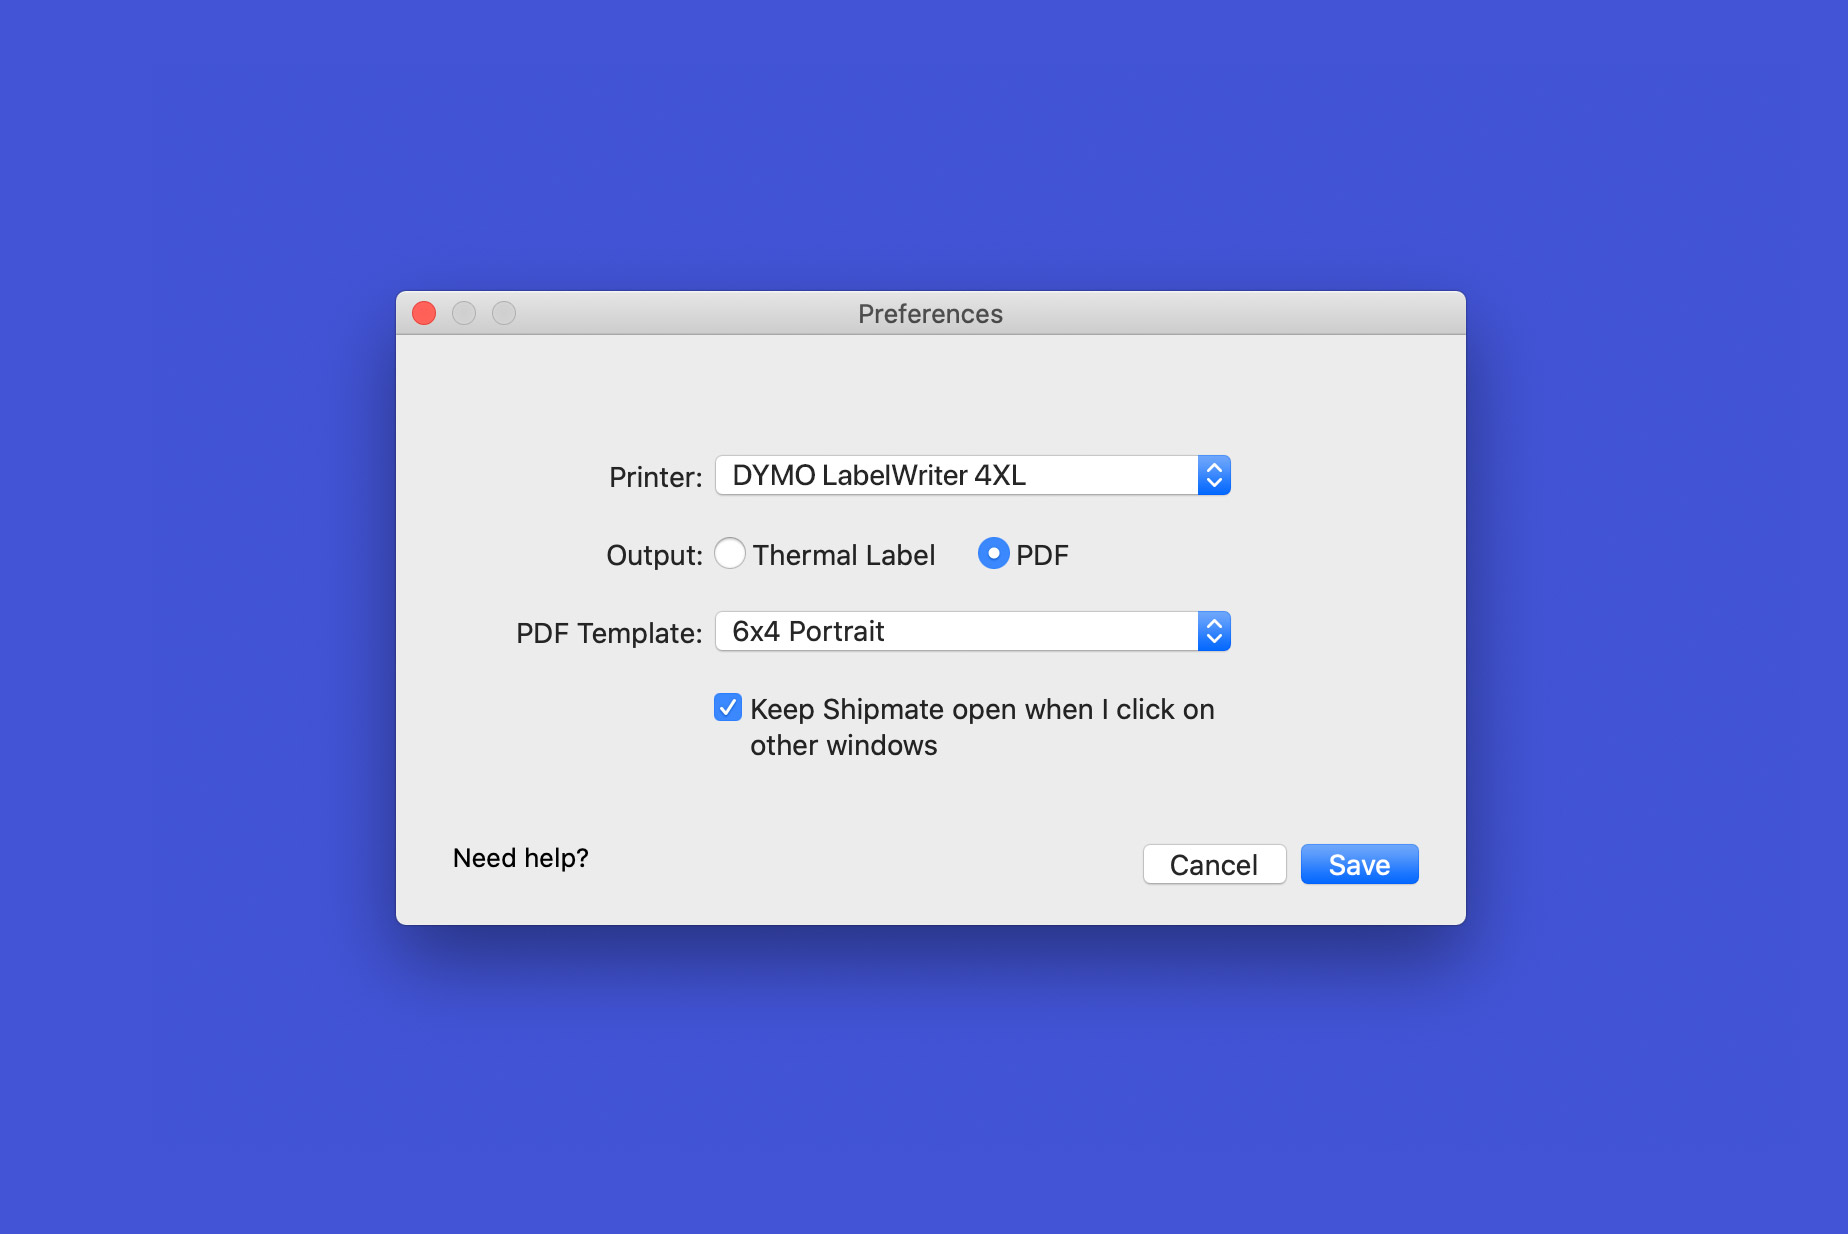
You will then see another list appear asking what layout format you wish to use. Default options include 6x4 portrait, designed for thermal labels not compatible with ZPL, then S16 Integrated Label (top-right) and S16 Integrated Label (bottom-left) - the S16 is a commonly available integrated label on an A4 sheet used with laser and inkjet printers. If you use another type of print media, please contact our technical support team with the specifications of your print media and we will configure a new layout for you.

Common Printer Settings
Zebra GK420d, Zebra ZD220, Zebra ZD420 (203dpi) or Citizen CL-S521
Use the Thermal Label output option.
Zebra ZD420 (300dpi)
Use the PDF output option and select the 6x4 Portrait template.
DYMO LabelWriter 4XL
Use the PDF output option and select the 6x4 Portrait template.
A4 Inkjet or Laser Printer
Use the PDF output option and select one of the S16 templates.
Printing Labels
Printing Labels
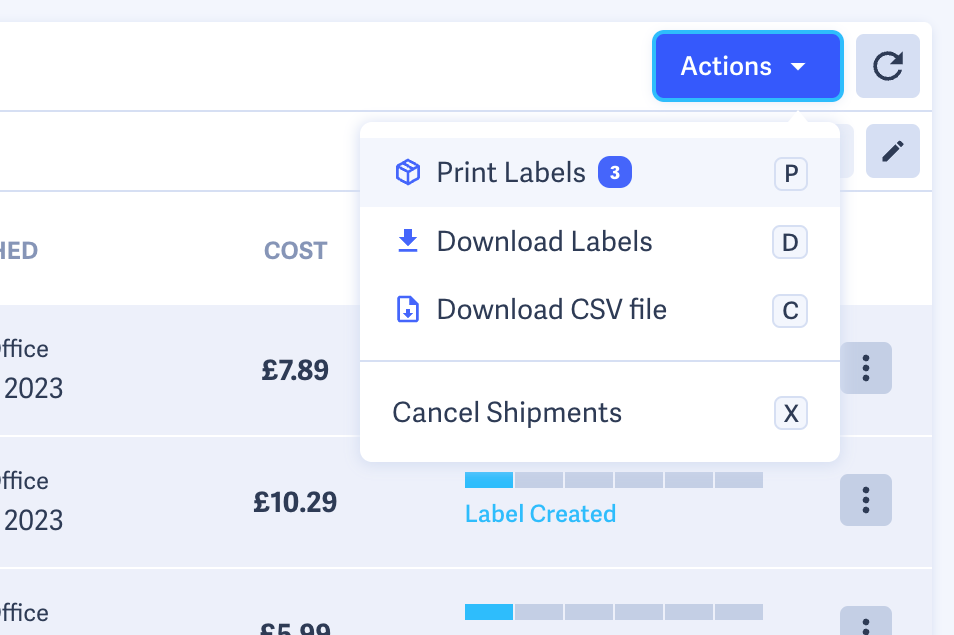
If you are using the Shipmate web application or another application or plugin that supports Shipmate WebPrint™, simply click the Print Label or equivalent button inside the application to send the label directly to your printer.
You may print the label as many times as you wish - the parcel will not be re-booked each time and you will not be charged for printing duplicate labels.
Reprinting Labels
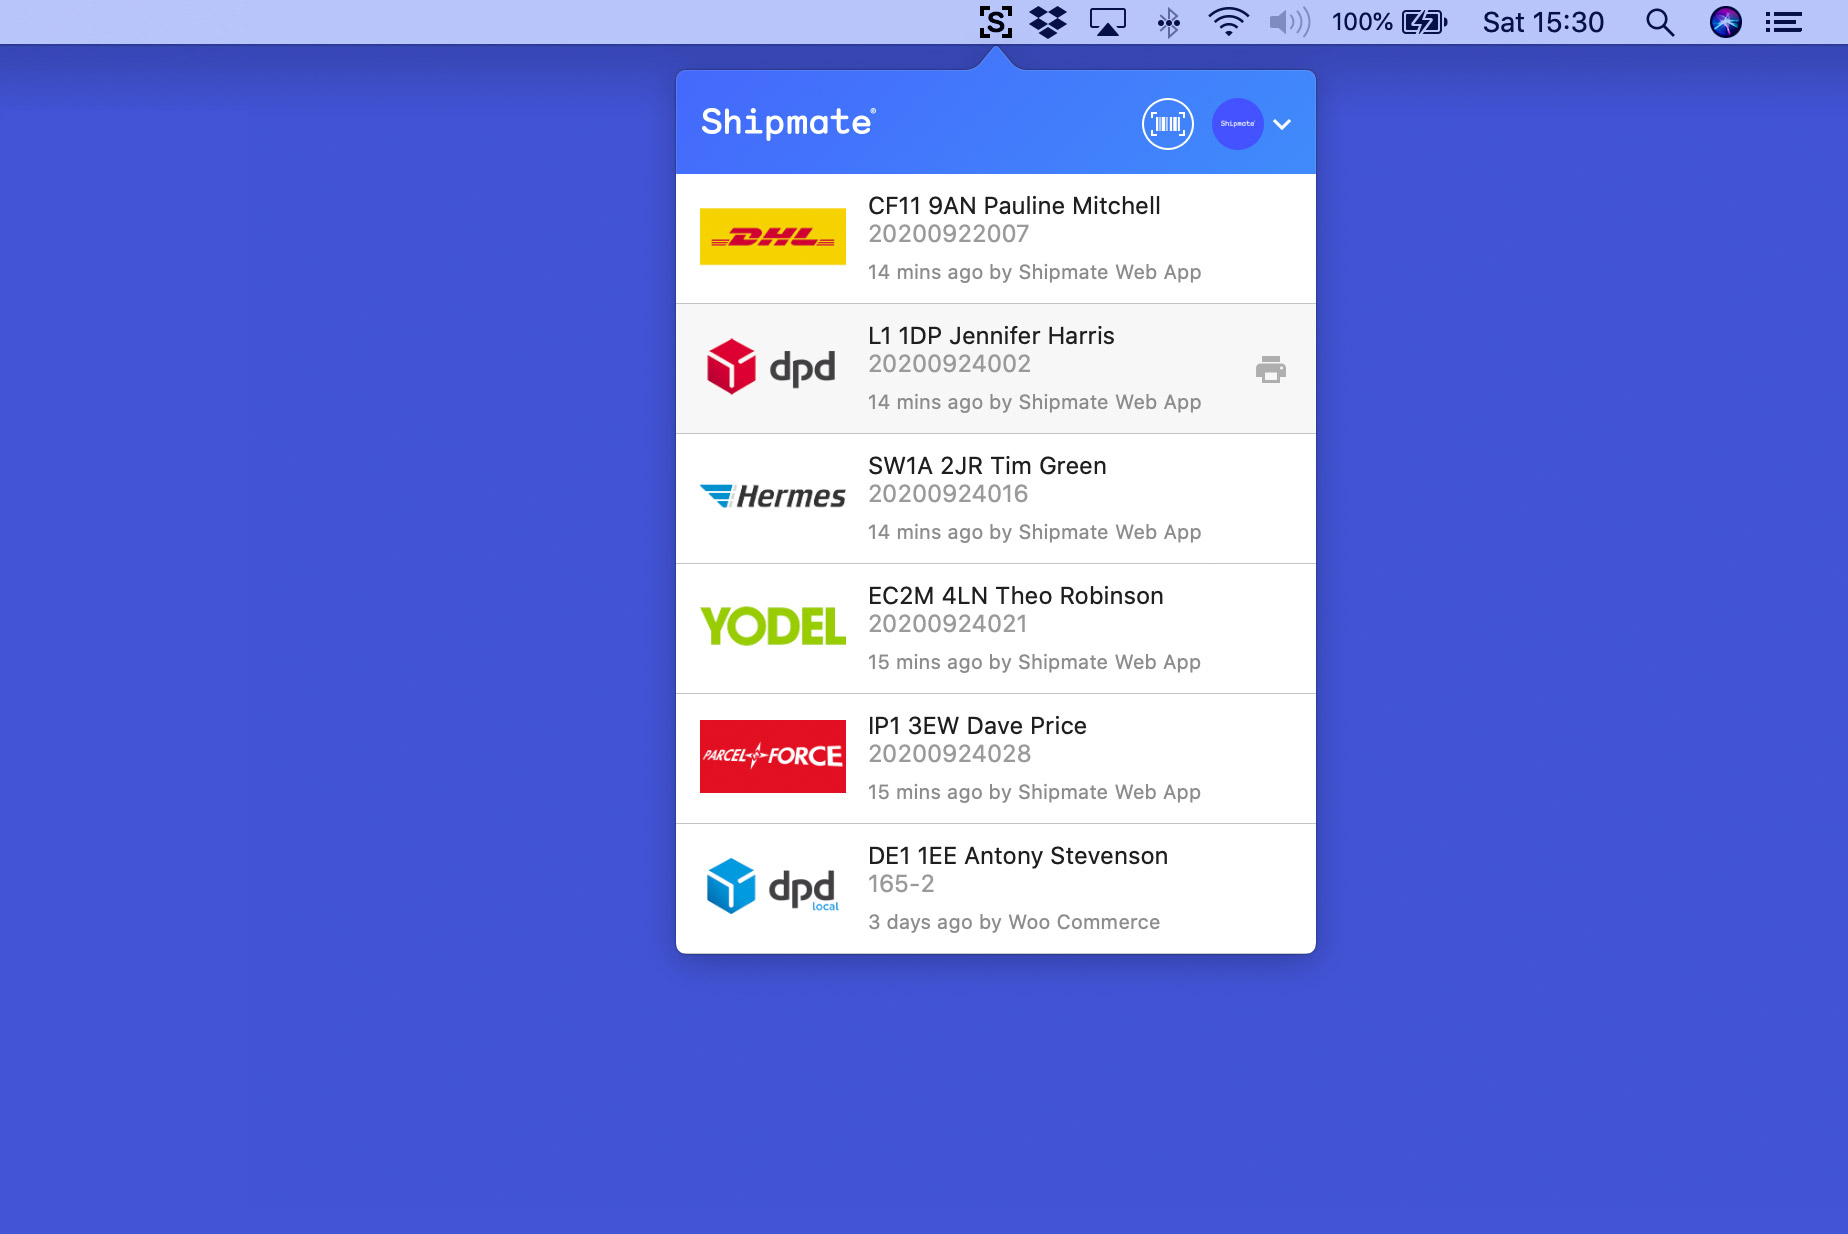
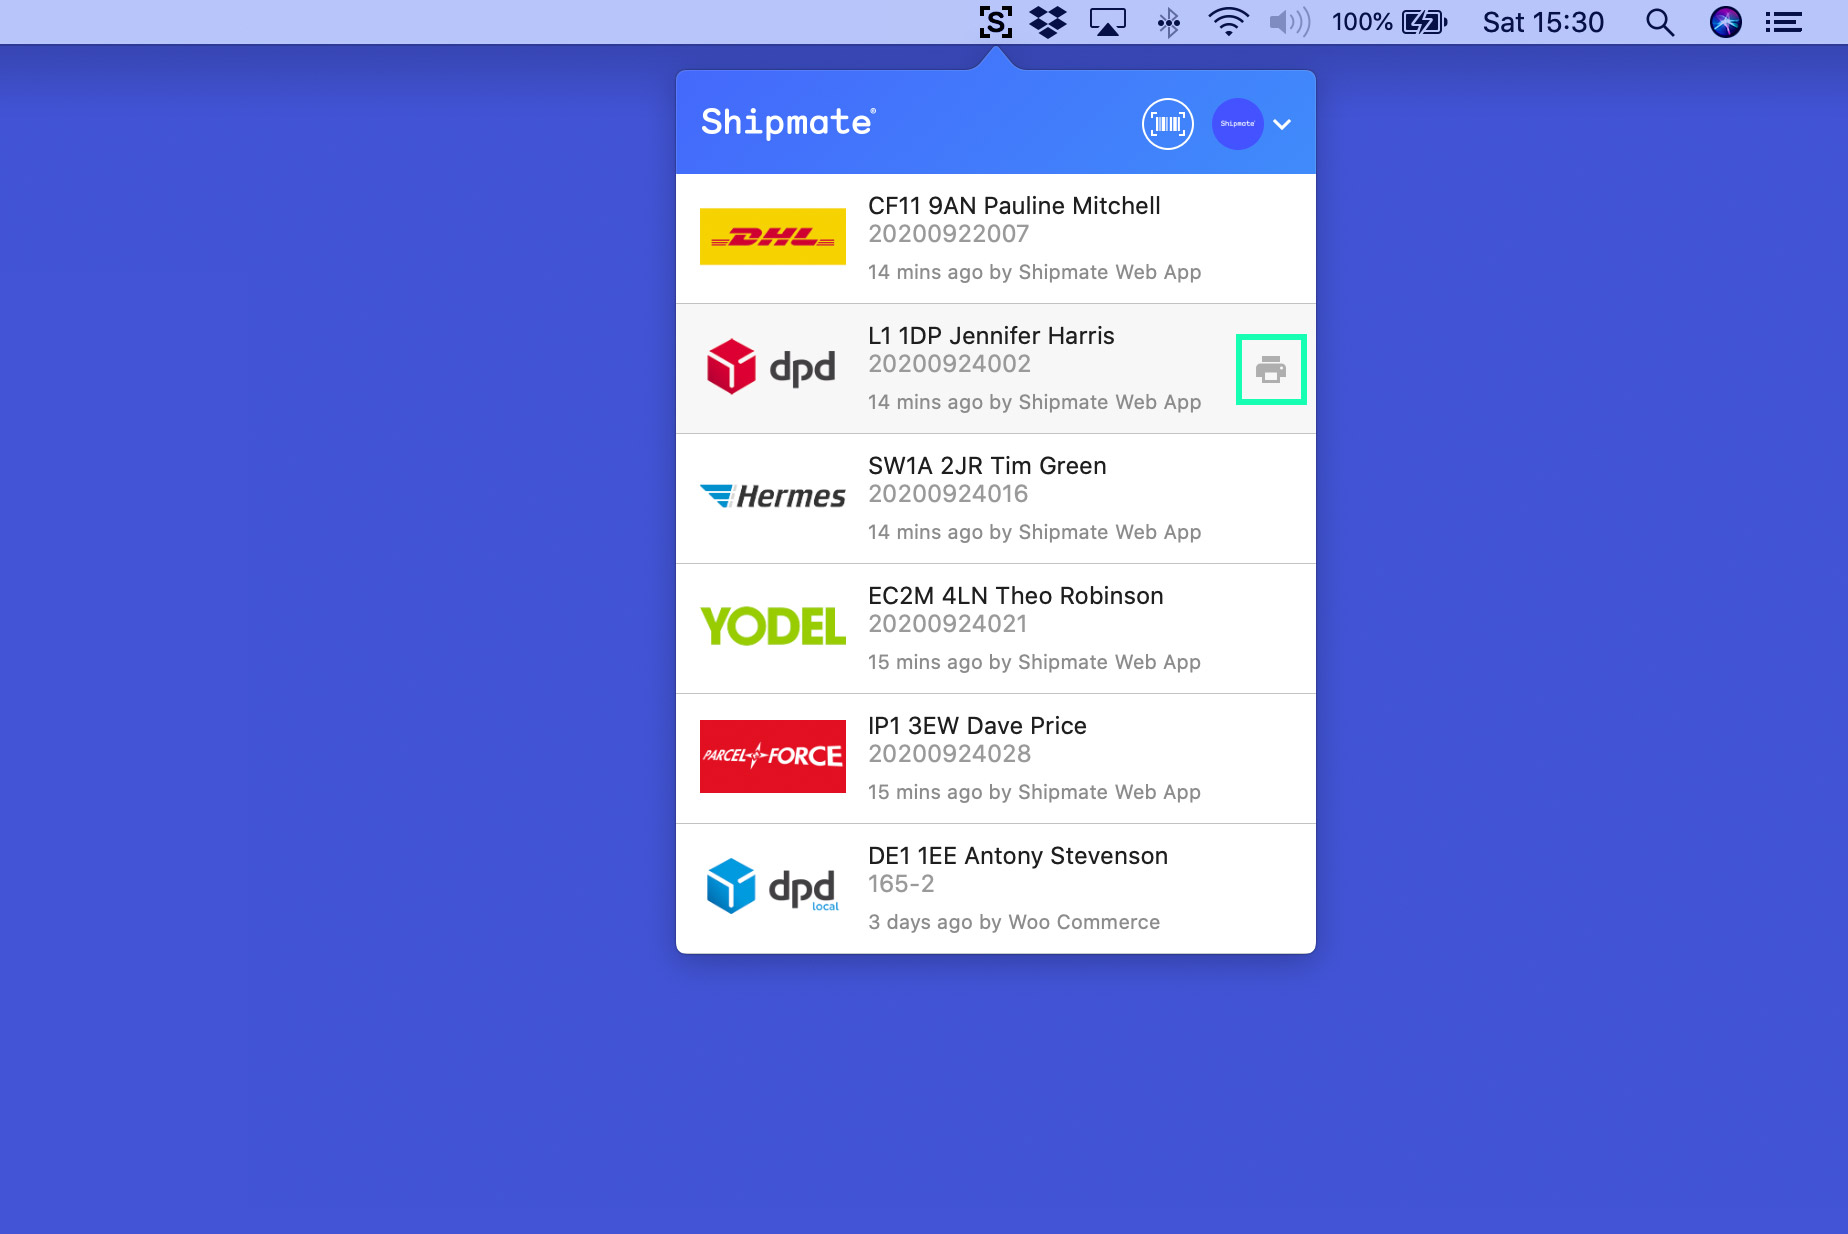
Shipmate makes reprinting labels easy. If a label is damaged or the printer runs out of print media, you can easily access the six most recently printed labels by clicking the Shipmate “S” menu bar icon, moving your mouse over the label you wish to reprint and click the printer icon. Shipmate also treats parcels given the same order reference as a reprint, so you can simply print the label from inside your Order Management System or Warehouse Management System again to reprint a label - the parcel will not be booked twice and you will not be charged for printing duplicate labels.
Using Scan and Print
In addition to sending labels to your printer from web-based portals and applications, you can also request labels from Shipmate to be printed on-demand using Scan and Print.
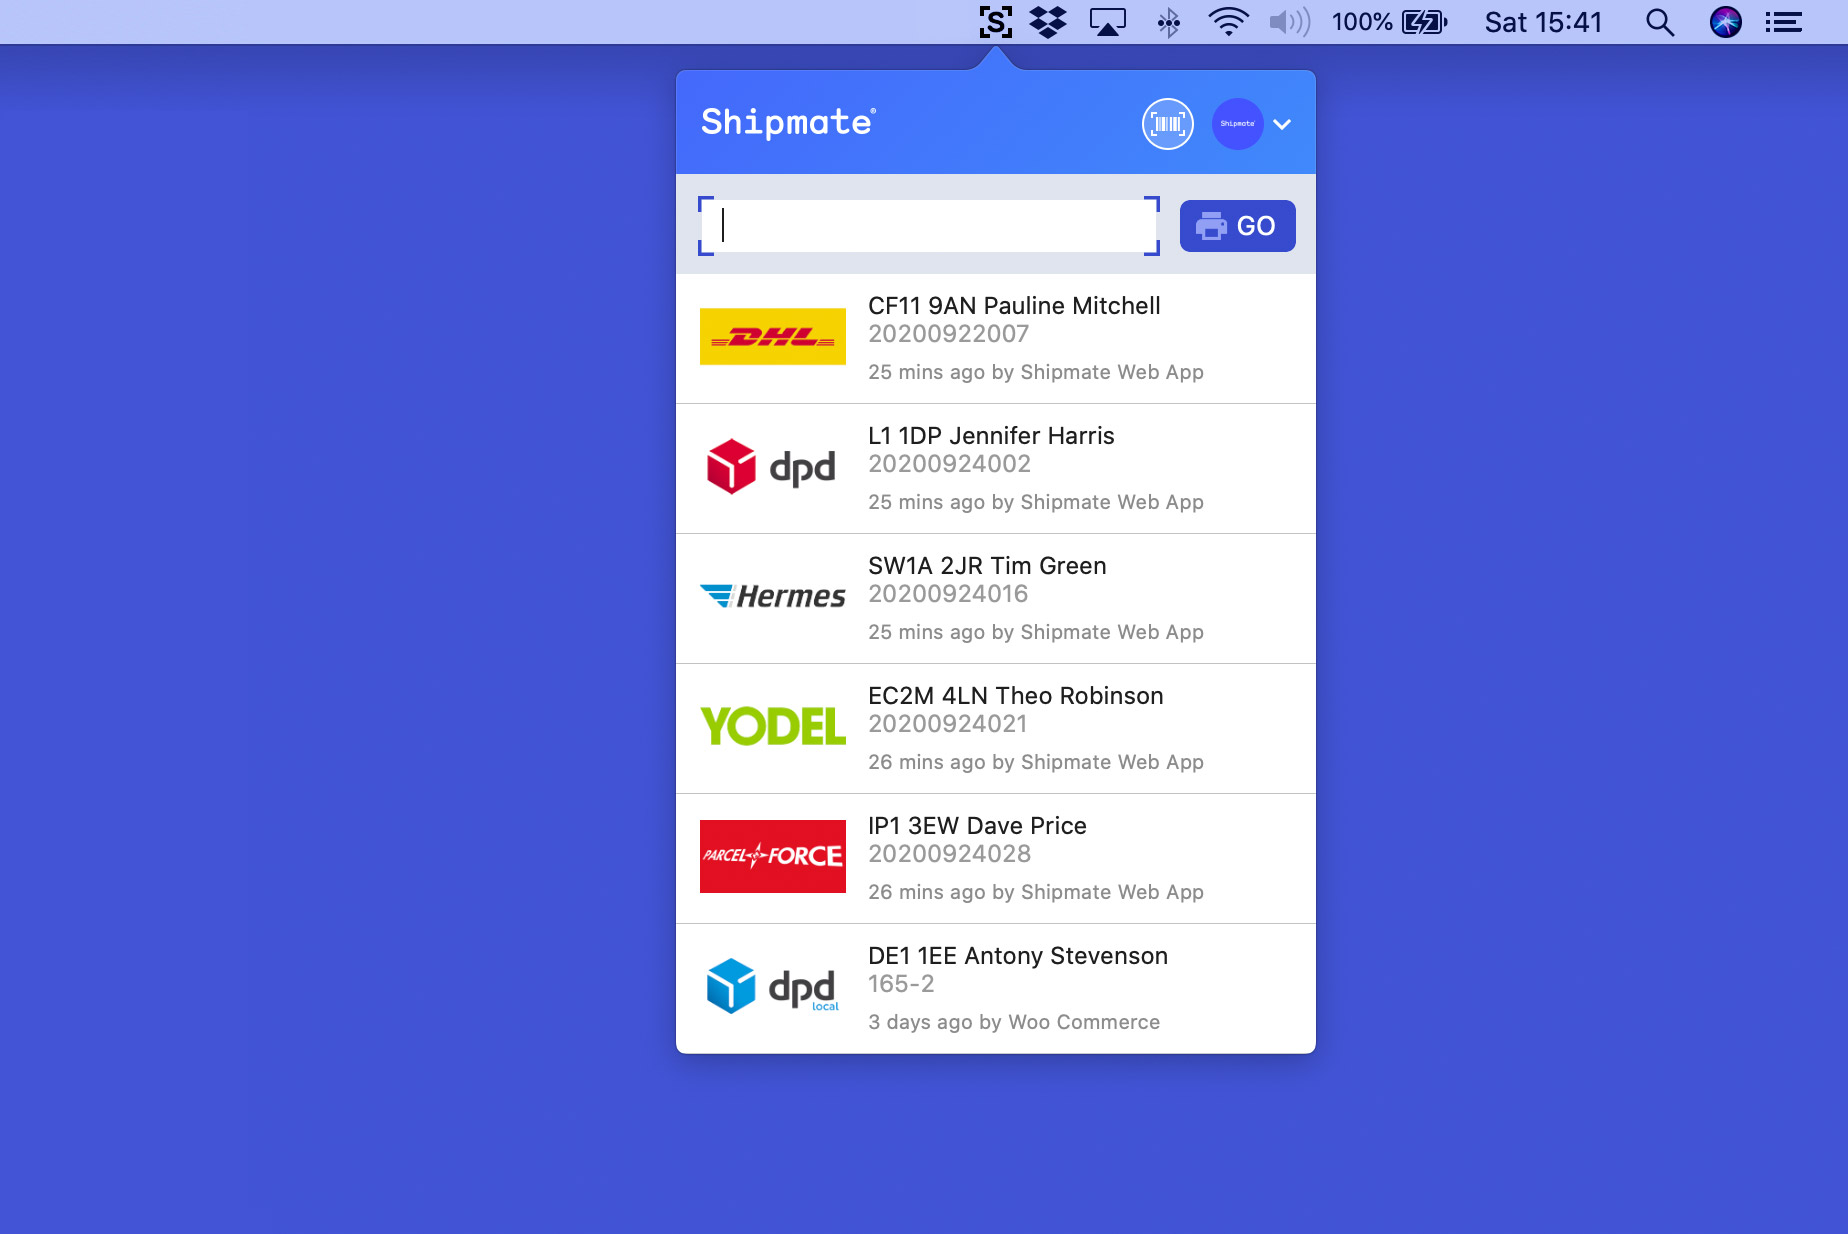
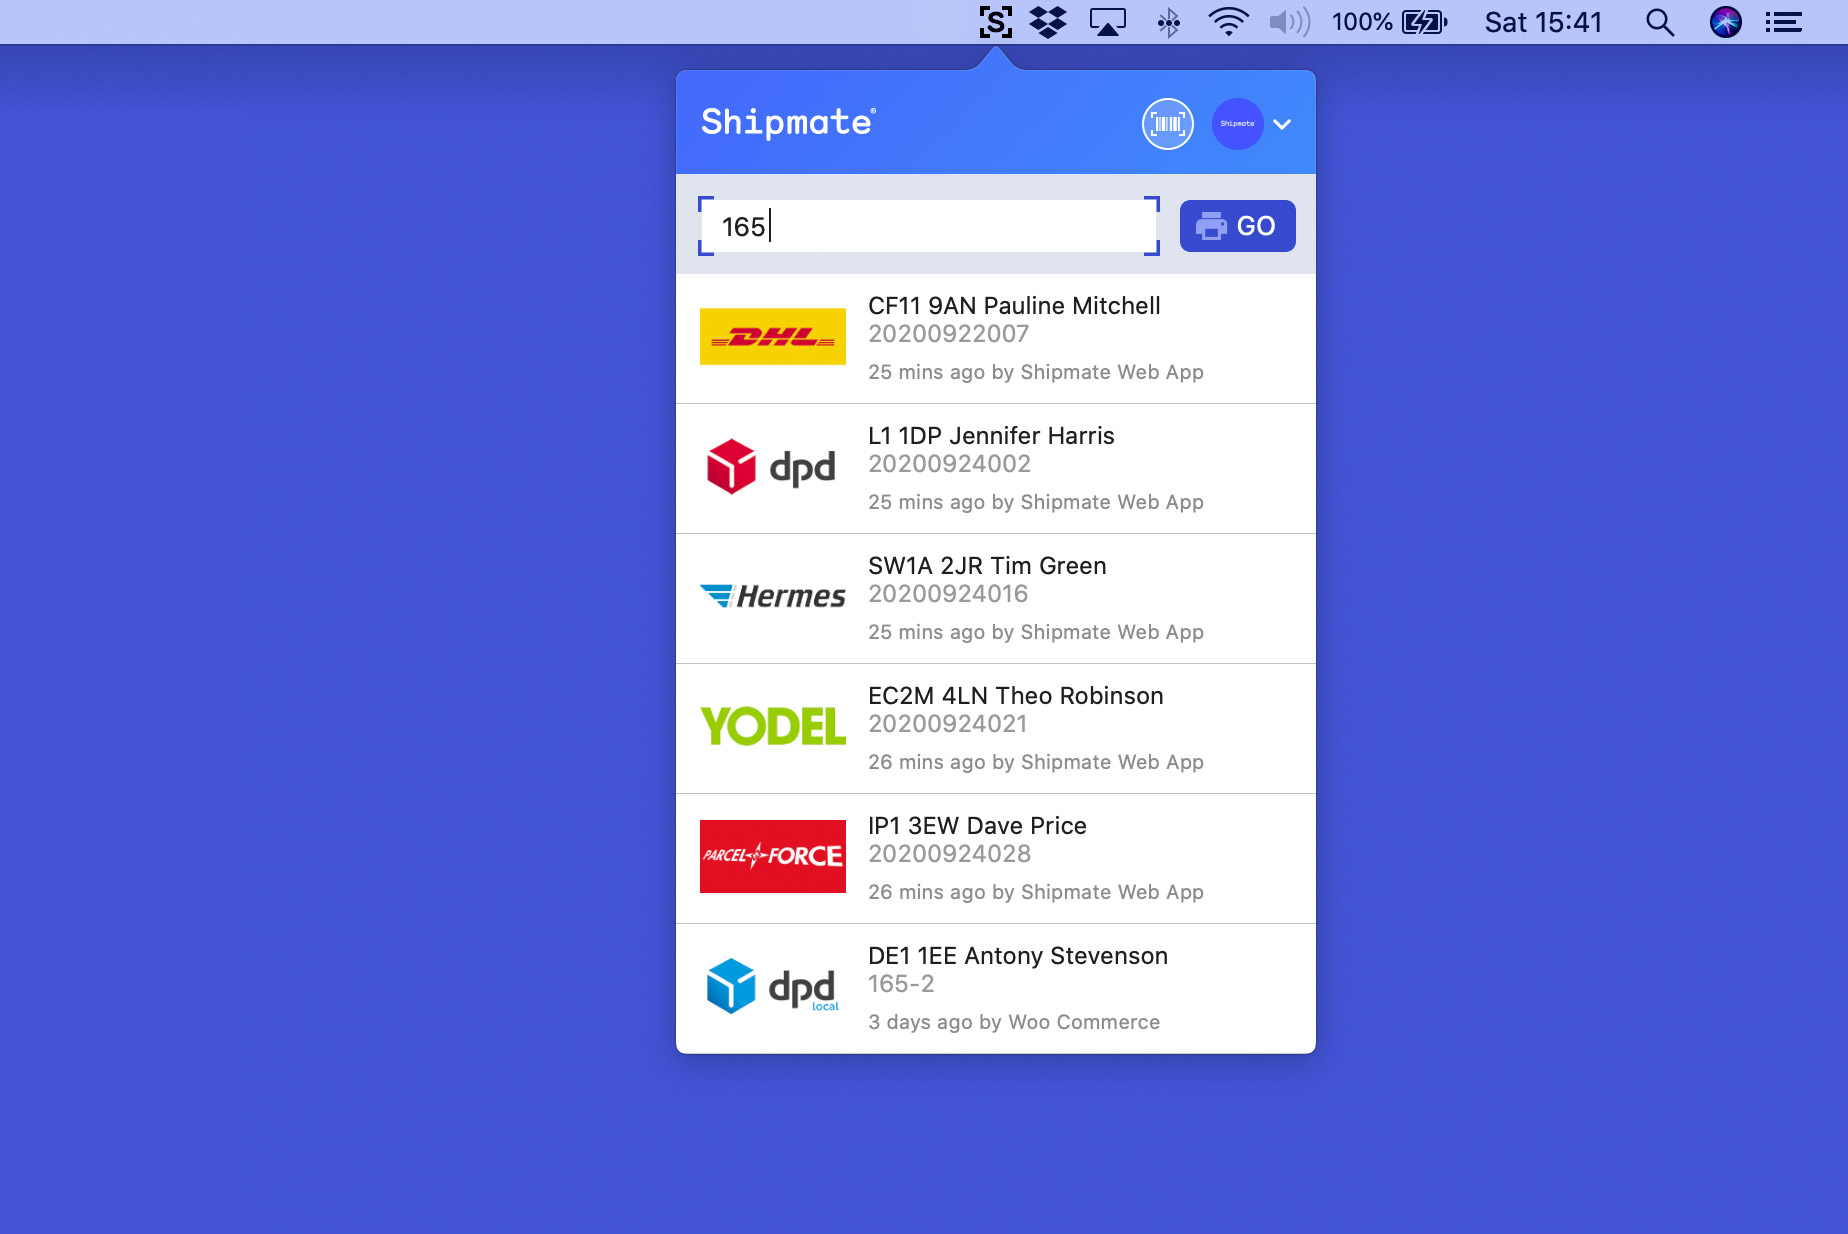
To enable Scan and Print, simply click the barcode icon in the top-right of the pop-up menu. This reveals a text input box you can either type into, or scan barcodes into. When you press return/enter or click the 'GO' button, Shipmate will attempt to retrieve labels based on the data input, and print them straight out.
Shipmate will search for labels based on the following criteria:
- Order Reference
- Parcel Reference
- Carrier Tracking Number
- Shipmate Universal Tracking Reference
A typical use case is scanning in the order number from a picking list or invoice, which can in turn retrieve the parcel label(s) associated with that order.
App Management
Signing Out
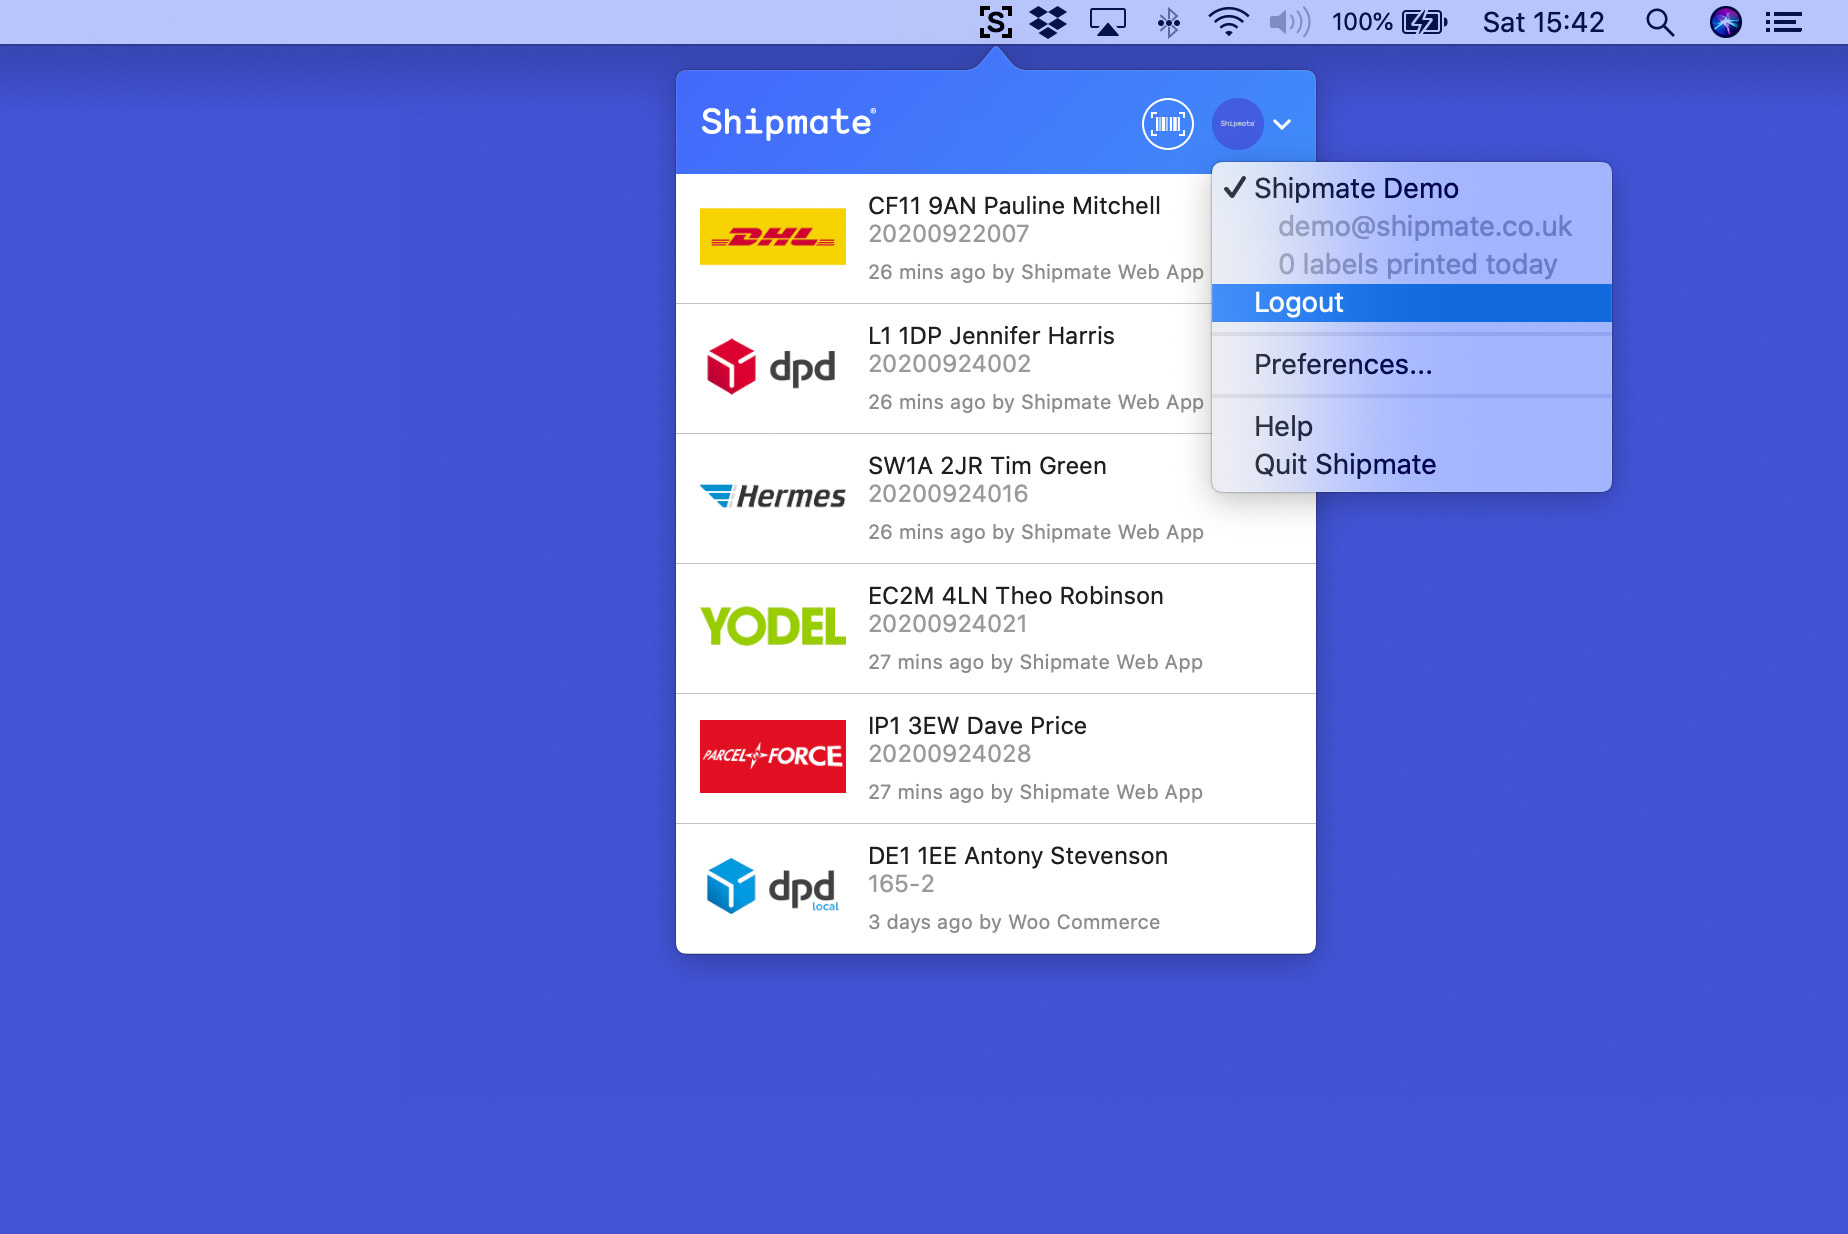
If you wish to sign out or logout of your Shipmate account, simply click the Shipmate “S” Status Bar icon, then click your profile image, and finally click Logout. Your session with the Shipmate app will be closed. You can login again by clicking the Shipmate “S” Status Bar icon, which will open a new login form.
Quitting the App
While not logged in: To quit the app before you have logged in, ensure the login form is displayed by clicking on the Shipmate “S” Status Bar icon, then hold Command+Q (⌘ + Q) on your keyboard simultaneously.
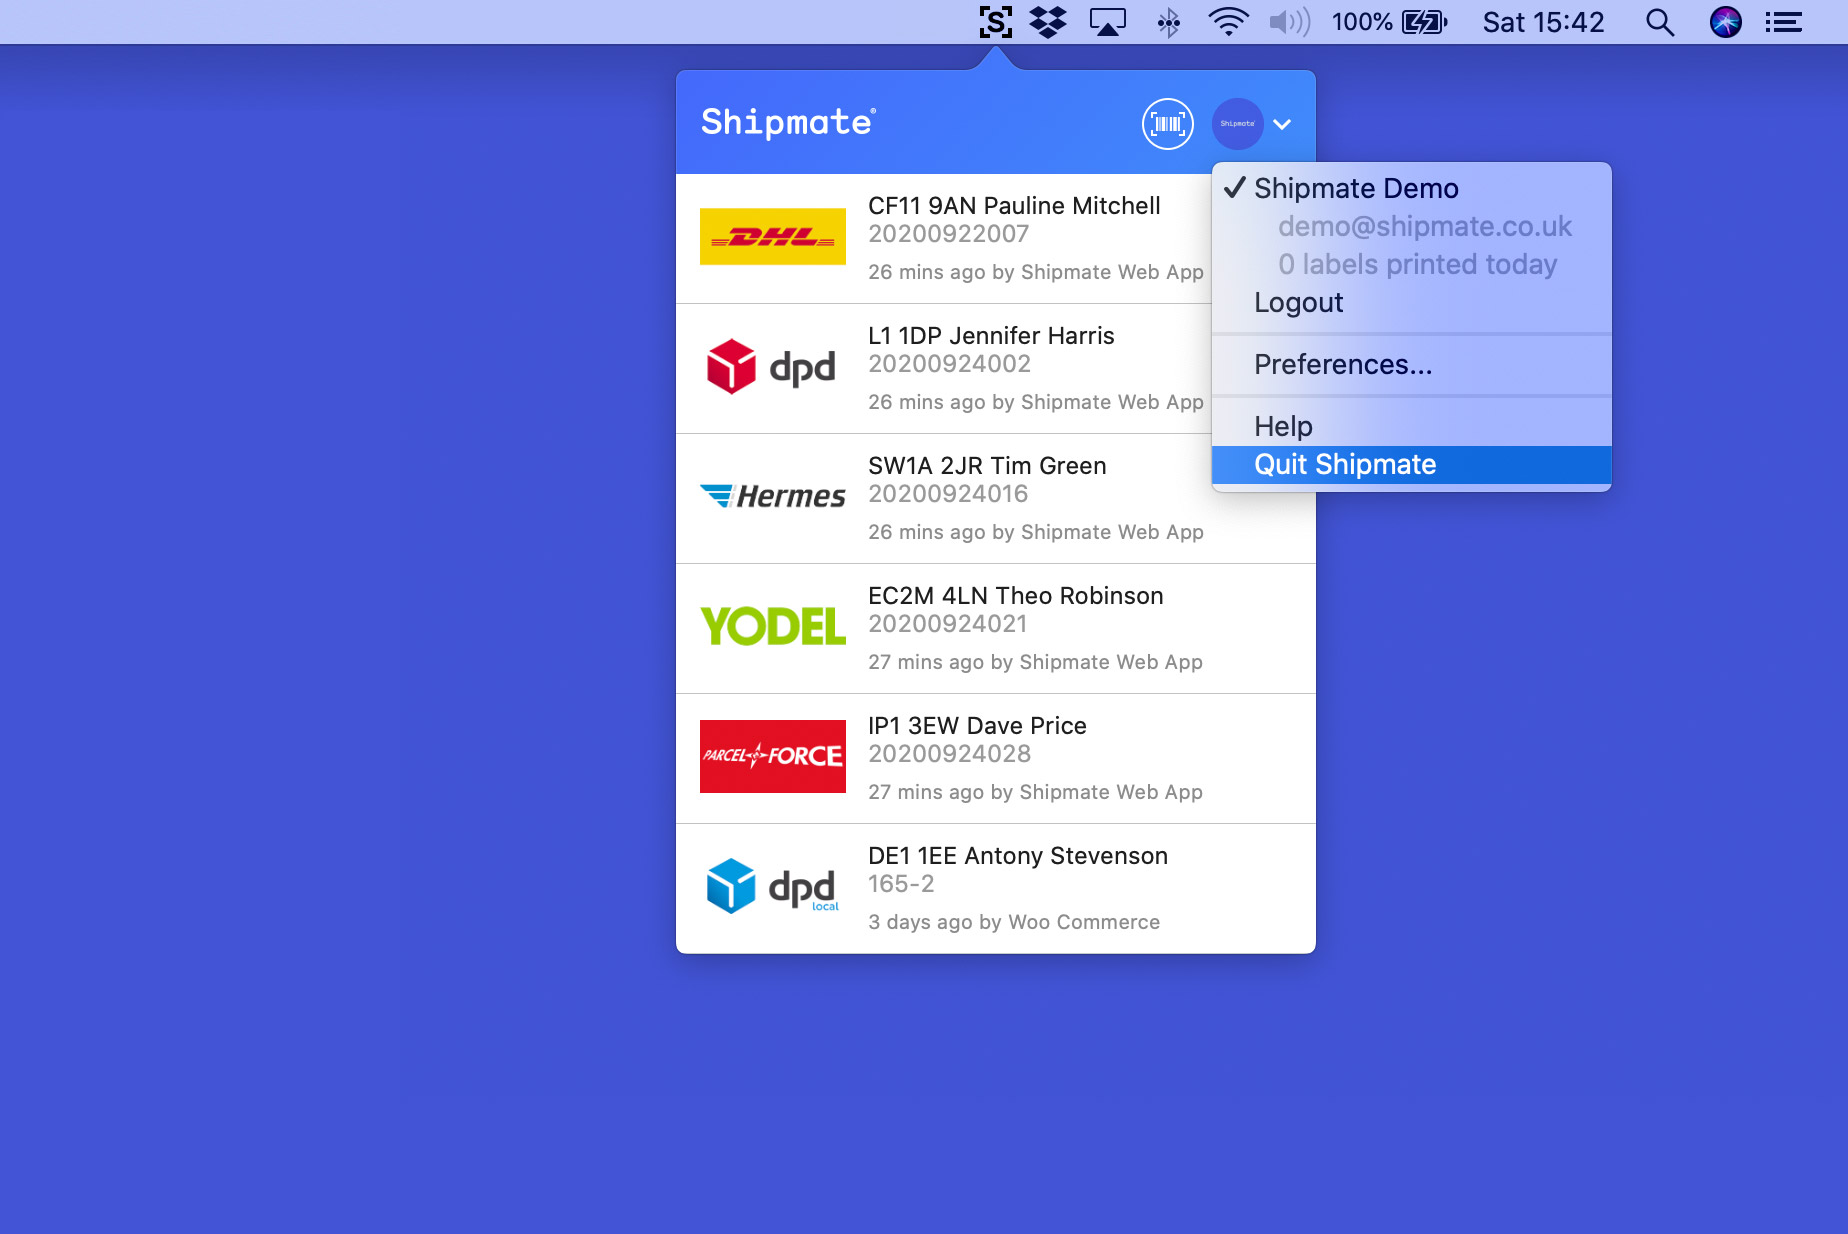
While logged in: To quit the app while logged in, simply click on the Shipmate “S” Status Bar icon, then click your profile image, and finally click Quit. You will not be able to print any labels until the app is restarted.
Uninstalling the App
To uninstall the Shipmate macOS App, first quit the app.
Using Finder, navigate to the directory on your computer where you installed the app (most likely the Applications directory), then drag and drop the Shipmate app icon into the Bin, usually located at the end of your icon dock.
To completely remove the app from your computer's disk, click and hold, right-click or Control-click on the Bin icon and click 'Empty Bin' from the menu that appears. This will also permanently erase any other files you had placed into the bin at the same time, so be absolutely sure you want to do this.
Troubleshooting
Cannot Select Printer
If you haven't used your thermal label printer on your Mac before, you may have to install it in a different way to most other printers.
Most thermal label printers need to be installed directly in CUPS - the underlying printer driver software used by macOS. To do this, navigate your browser to http://localhost:631, then click the Administration tab.
You may be asked to enter a username and password - simply enter the details you use to log into your Mac. Note this must be an account with administrative privileges.
From the Administration screen, select the Add Printer button. This will show a list of printers connected to your computer - simply select the relevant model and click Continue
If asked what type the printer is, select Raw, as the Shipmate app will send all commands directly to the printer, bypassing any printer-specific driver commands.
Once the printer has been added, close and re-open the Shipmate Preferences pane and the printer should then be available in the drop-down menu.
Disconnected from Shipmate
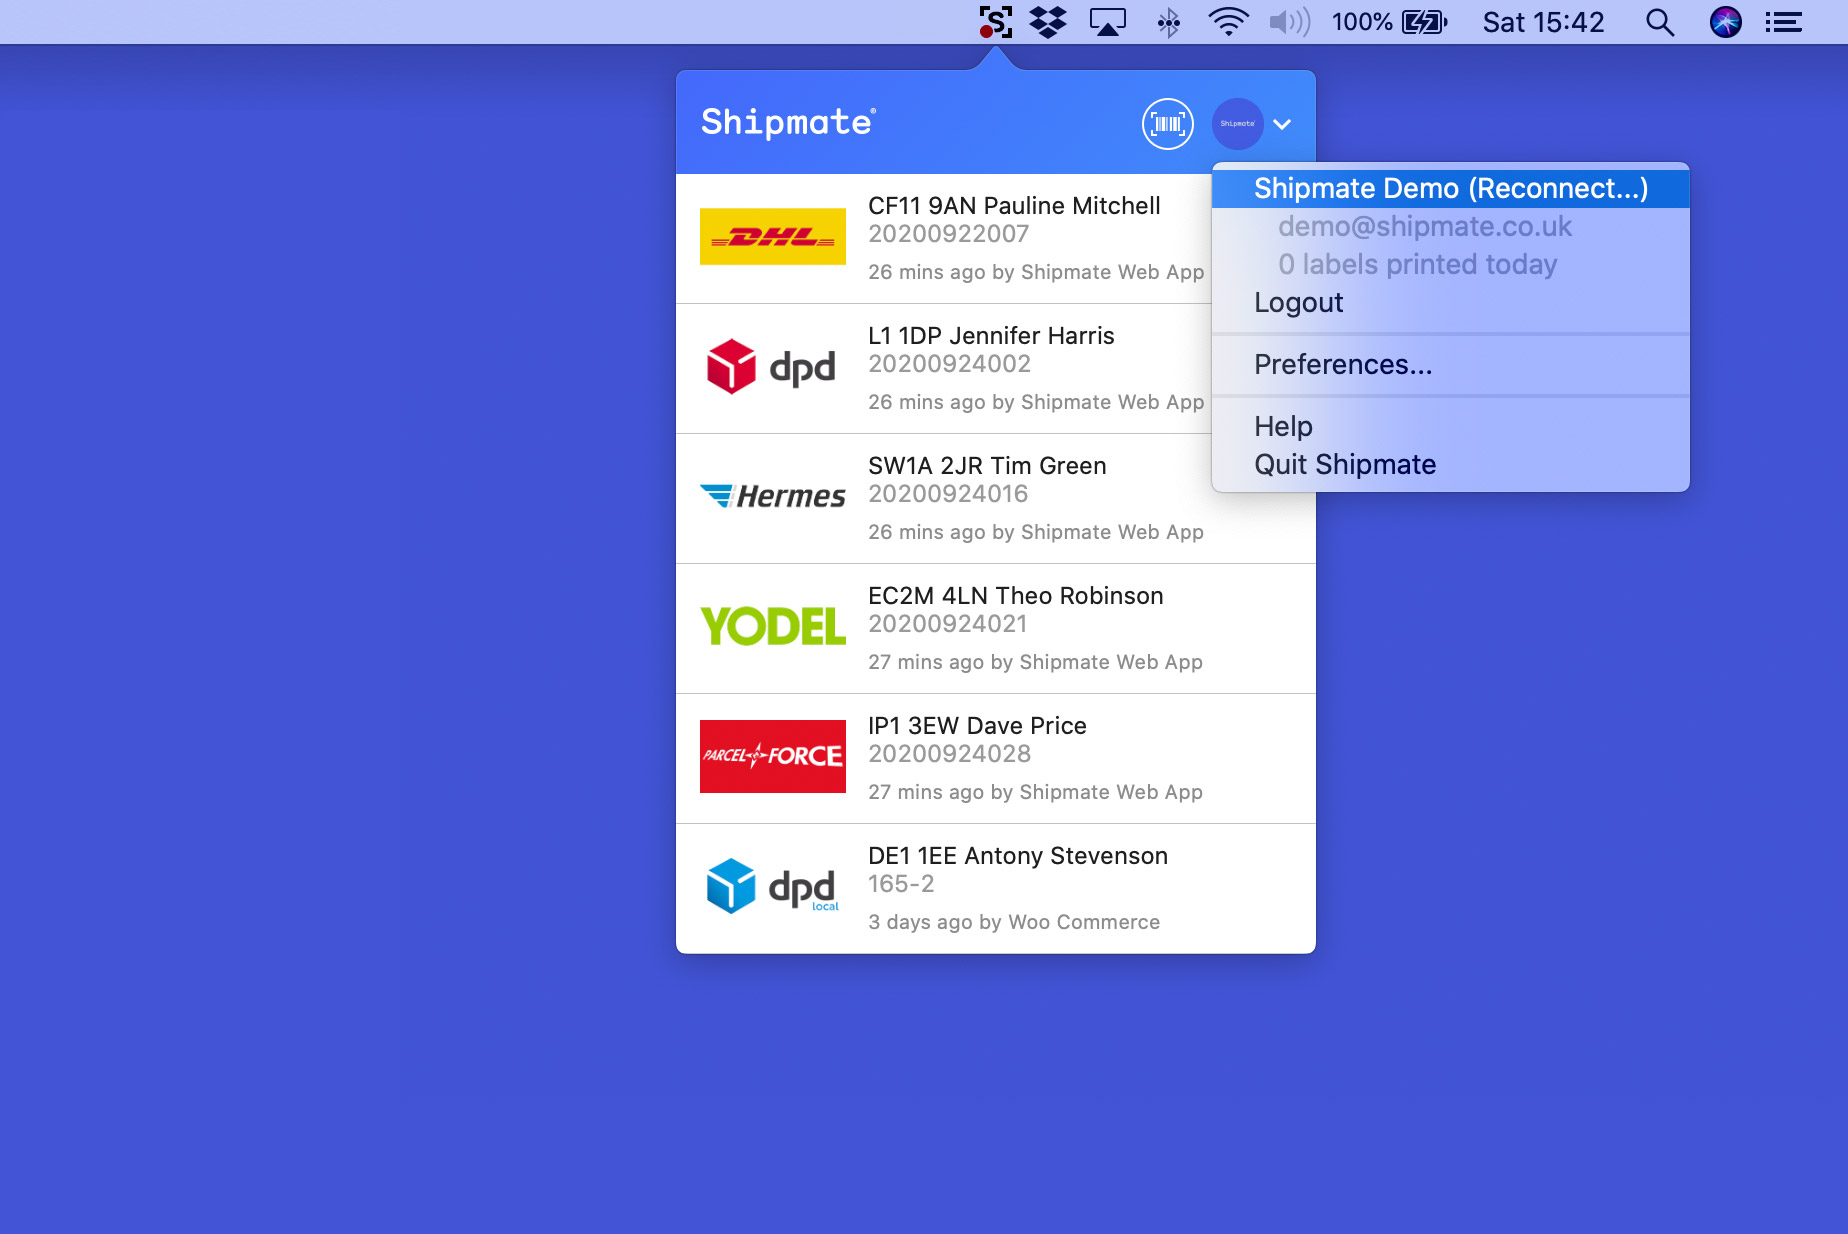
If you cannot print labels to your printer, or notice that a red dot has appeared on the Shipmate Status Bar icon - this means you have been disconnected from the Shipmate WebPrint™ server. This can happen for a variety of reasons, such as not being in use for a while, or another computer signing in on the same account.
To get back up and running, simply click the Shipmate “S” Status Bar icon, then click your profile image, and finally click Reconnect. You will then be able to print labels again.
How to Force Quit the App
As the Shipmate App runs as a menu bar application, it cannot be closed from the Force Quit menu.
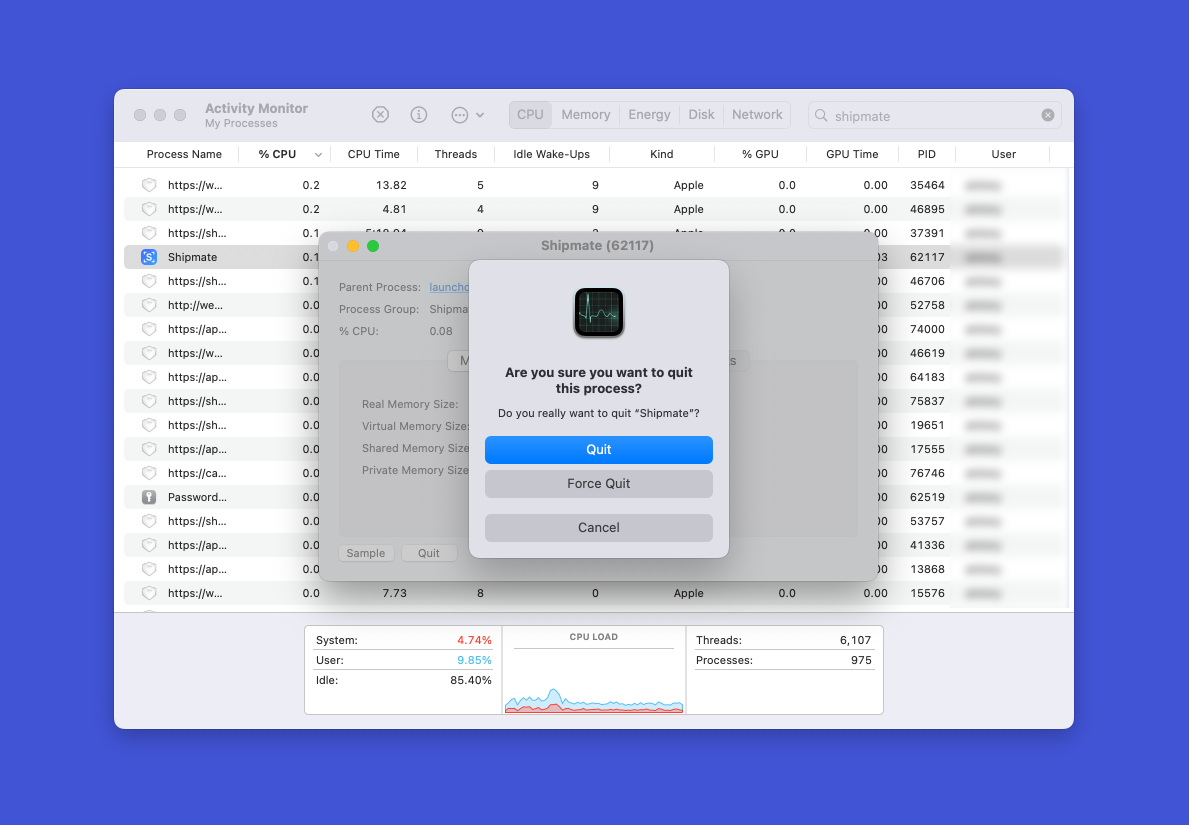
In the unlikely event the Shipmate Desktop Printer App has frozen and you need to Force Quit the app, you can do this from Activity Monitor.
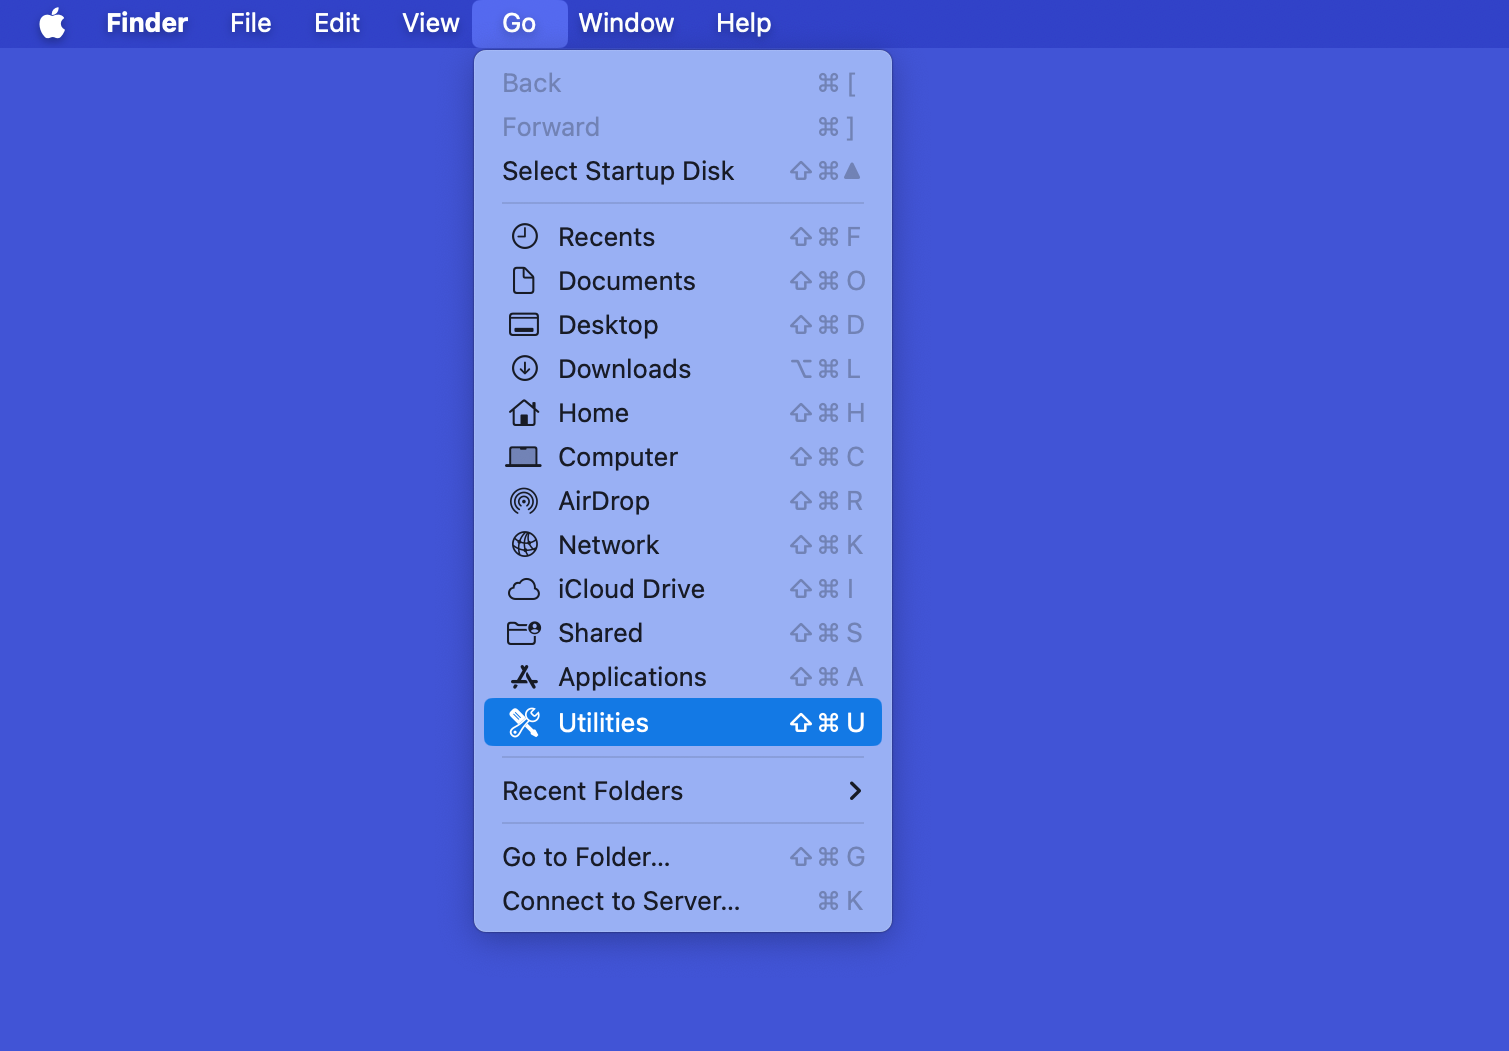
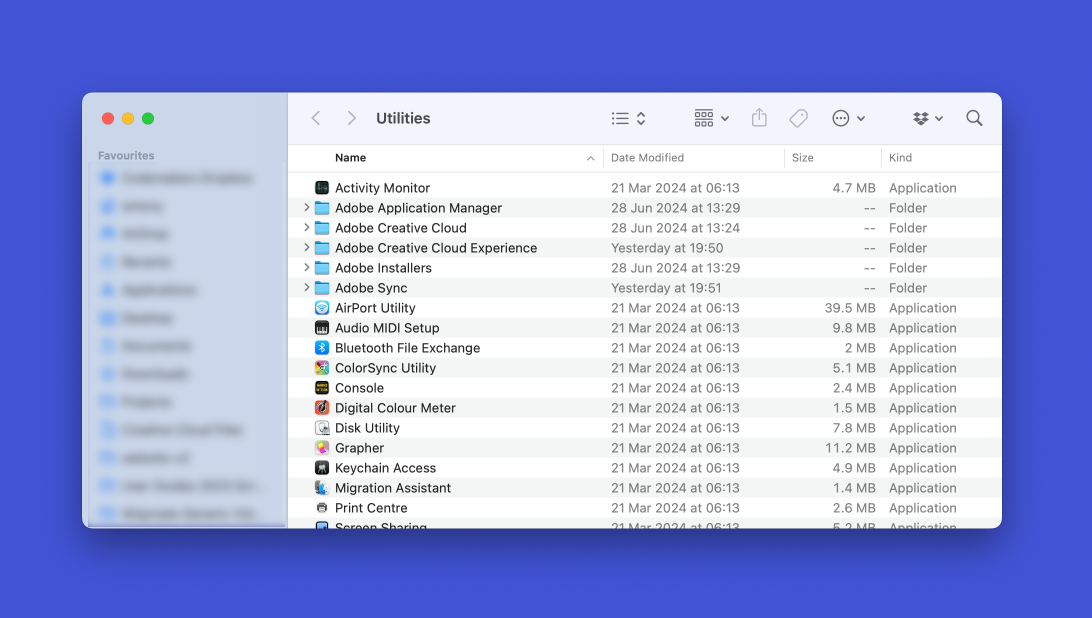
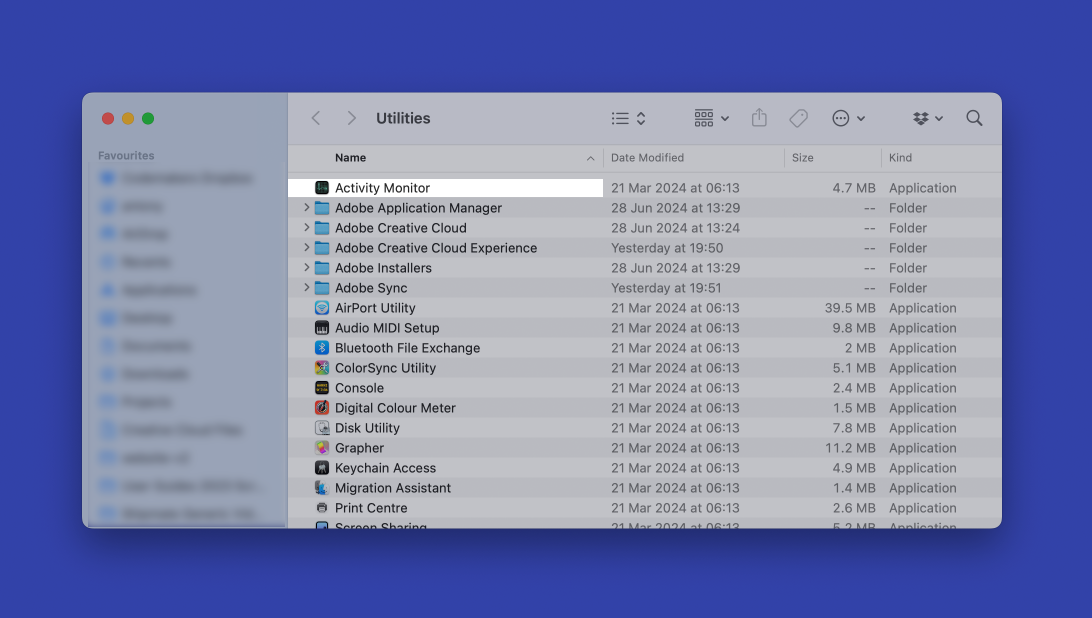
When using Finder, in the top menu click Go > Utilities and then double-click Activity Monitor.
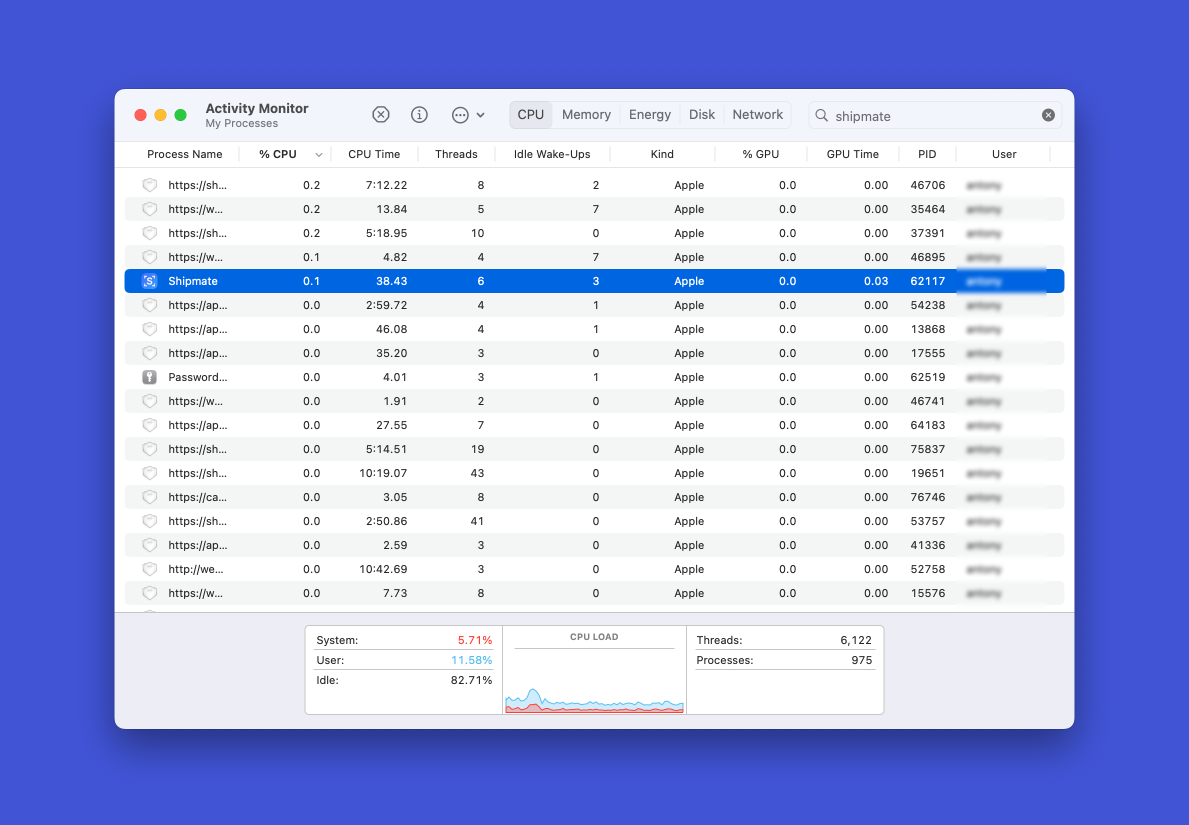
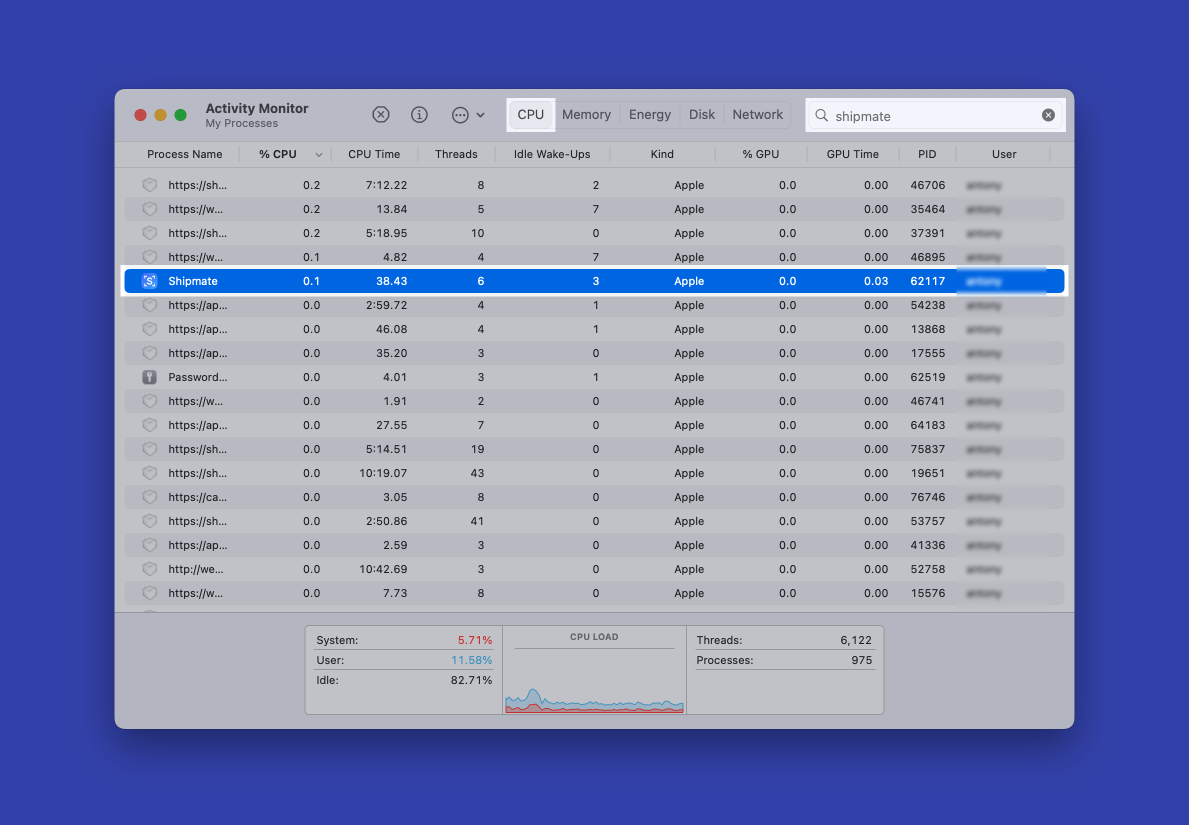
In Activity Monitor, click the CPU tab if it isn't already selected and then use the search box to find Shipmate.
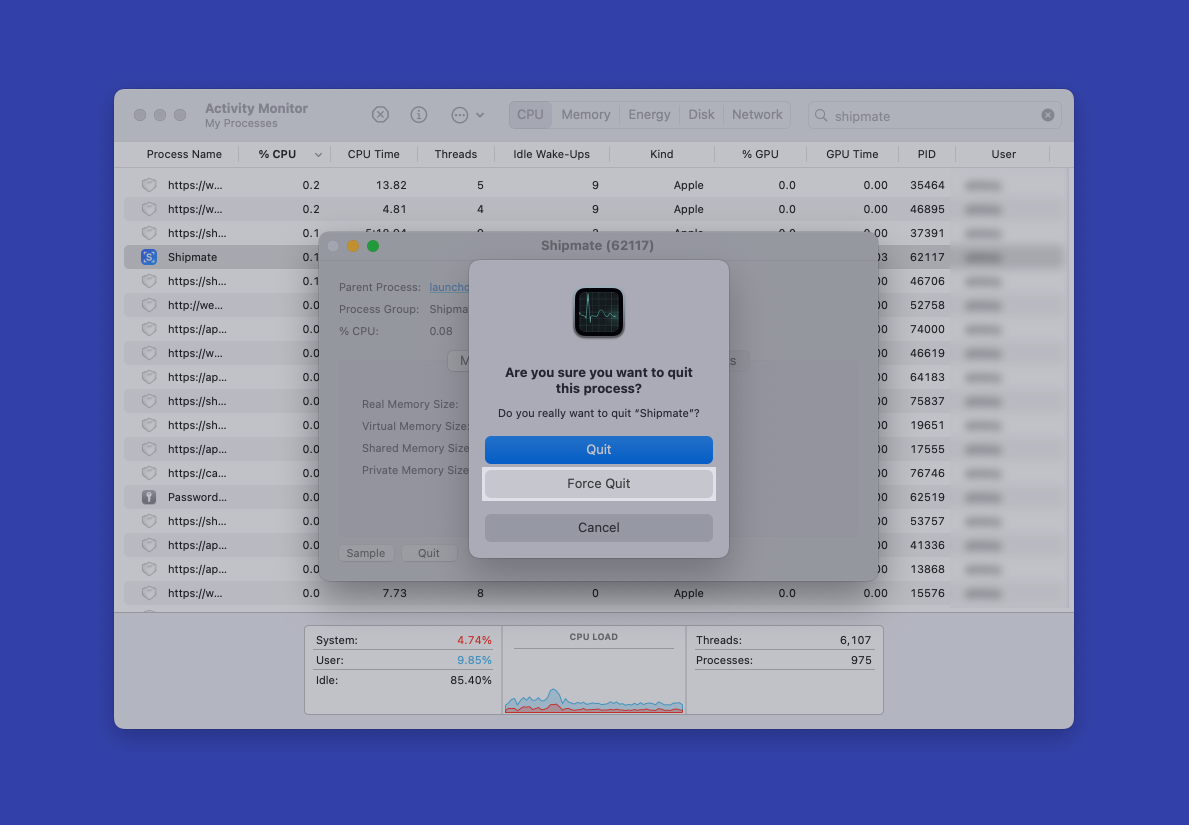
Double-click the Shipmate process, then select Quit from the pop-up window and confirm you wish to Force Quit using the confirmation box.
Licensing
Terms of Usage
The Shipmate macOS Application is Copyright © 2020 – 2026 Shipmate Systems Limited.
Installation and use of the Shipmate macOS Application is subject to agreement with the Terms and Conditions of Supply of Services agreement provided upon application of a Shipmate account. Shipmate Systems Limited and its employees, subsidiary or parent companies or partners are not responsible or liable for your installation or attempted use of the Shipmate macOS Application outside of a service agreement.
Further Information
Version History
Version 2.4.0 - August 2024
New features include:
- Backwards compatibility with previous macOS Versions, notably Monterey
- Improved reliability to prevent connection timeouts
Version 2.3.0 - November 2023
New features include:
- macOS 14 Sonoma compatibility
- Updated carrier logos
- Improved legibility on non-retina displays
Version 2.2.0 - April 2022
Minor updates to support upcoming functionality, alongside other operational updates. New features include:
- Updated carrier logos
- Ability to select printing location
- New environment switching mechanism on login screen
- Version update checker
- Apple Silicon / M1 and Intel native compatibility
Version 2.0.0 - September 2020
Complete re-design and re-write of the app based on customer feedback. New features include:
- A brand new user interface
- Pop-up box showing the last 6 labels, with re-print facility
- PDF printing and compatibility with almost all label printers and desktop printers
- New Scan and Print facility allowing you to process your labels first, then print them later
- Many reliability improvements
Version 1.0.0 - December 2018
Initial version facilitates printing on popular thermal label printers. Features include:
- Print directly to ZPL-II compatible thermal printers using Shipmate WebPrint™